Can you print soft and elastic TPU on a consumer-grade 3D printer? The answer is yes. As long as your 3D printer has a direct drive extruder or a well-tuned short-distance feeding system, even entry-level models can consistently produce high-quality TPU parts. Success requires the right settings for temperature, speed, and retraction. This guide covers material properties, hardware checks, parameter tuning, step-by-step operations, and troubleshooting. We explain how to master this challenging elastic material on desktop devices. We also provide practical setup data and tips to help you avoid mistakes and save filament.
What Is TPU in 3D Printing?
TPU (Thermoplastic Polyurethane) is an elastomer material that sits somewhere between rubber and plastic. Its defining characteristics are flexibility, wear resistance, and tear resistance. Shore Hardness typically ranges from 85A to 95A. A lower value feels softer and more like rubber, while a higher value is harder and closer to standard plastic. Unlike rigid materials like PLA or PETG, TPU easily compresses or deforms during the extrusion process. This demands high stability from the feeding system, which is why many users encounter clogs or under-extrusion during their first TPU print.
TPU is widely used for phone cases, seals, insoles, vibration dampers, and flexible robotic grippers. For consumers, it is one of the few materials that allows 3D-printed parts to feel like genuine industrial products.
Can a Hobby 3D Printer Print TPU?
Most hobby 3D printers can print TPU, but results vary significantly. Success is determined by the extruder structure and the length of the filament path rather than brand or price.
| Extruder Type | TPU Printing Difficulty | Recommended Hardness | Typical Success Rate |
| Direct Drive | Low | 85A–95A | Above 90% |
| Short Bowden | Medium | 90A–95A | 70%–85% |
| Long Bowden | High | 95A+ Only | Below 50% |
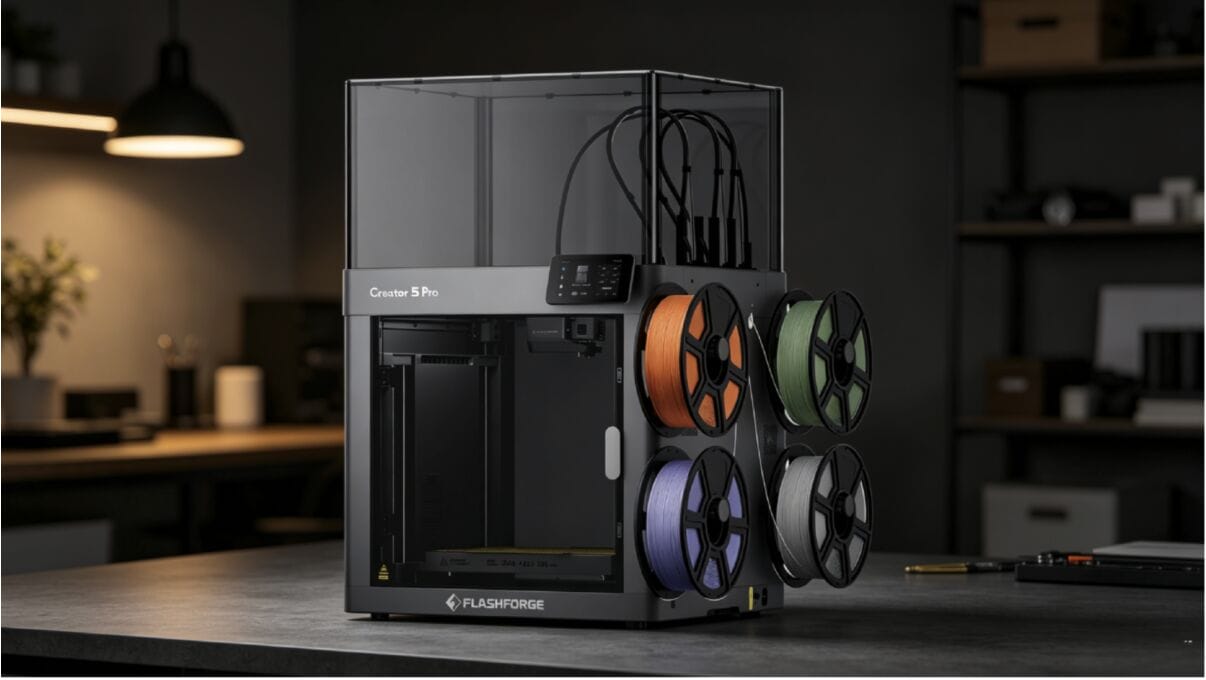
If your machine utilizes a direct drive setup—such as the tpu 3d printer Flashforge Creator 5, which is engineered for high stability and multi-material versatility—handling flexible filaments becomes significantly more reliable. While the Creator 5 is optimized for TPU in the 90A–95A (or 64D) hardness range to ensure consistent extrusion and minimal failure rates, its robust configuration makes even softer 85A TPU much more manageable compared to standard setups. Advanced features, including four independent toolheads, precise direct drive extrusion, 320°C high-temperature nozzles, and fully automated calibration, collectively enhance feed stability and part consistency when working with these demanding flexible materials.
What to Check Before Printing TPU
You must confirm three hardware details before hitting start. Otherwise, no amount of parameter tuning will fix the issues.
Filament Type and Shore Hardness
Beginners should start with 95A. This hardness provides more rigidity and is less likely to buckle at the gears, leading to the lowest failure rate. Once you are familiar with the process, you can try 85A or softer variants. Always verify the filament diameter (1.75mm is standard) and prioritize vacuum-sealed rolls that include desiccant.
Extruder Setup
Check the tension on the extruder gears. If it is too tight, the soft TPU will flatten and cause under-extrusion. If it is too loose, the gears will slip. The ideal setting allows you to feel resistance when pulling the filament by hand without leaving deep tooth marks. For Bowden setups, the internal wall of the PTFE tube must be smooth, and the tube opening should stay as close to the gears as possible.
Bed Surface
TPU adheres well to PEI steel sheets and coated glass. However, it can stick too well to plain glass, potentially damaging the model during removal. A flexible magnetic PEI spring steel sheet is recommended because it ensures good adhesion while allowing for easy removal.
One critical tip: do not use glue or hairspray on the first layer for TPU. These can cause a permanent bond between the TPU and the build plate, leading to torn prints or damaged bed coatings when you try to remove the part.
Best TPU 3D Printer Settings to Start With
Once your hardware is ready, parameter settings are the next hurdle. The following verified starting values work for most 95A TPU filaments.
Temperature
Set your nozzle temperature between 220°C and 240°C and the heat bed between 50°C and 60°C. Temperatures that are too low cause under-extrusion and layer separation. Temperatures that are too high will increase stringing.
Print Speed
Speed is the most sensitive variable for TPU. Keep it between 20 and 30 mm/s. If you exceed 40 mm/s, the flexible filament compresses too much inside the extruder. This almost always leads to under-extrusion.
Retraction
Set retraction distance to 1–2 mm for direct drive or 3–5 mm for Bowden setups. Keep retraction speed between 25 and 35 mm/s. Excessive retraction can snap the molten TPU inside the nozzle and cause a clog.
| Parameter | Recommended (Direct Drive) | Recommended (Bowden) |
| Nozzle Temp | 230°C | 235°C |
| Bed Temp | 50°C | 60°C |
| Print Speed | 25 mm/s | 20 mm/s |
| Retraction Distance | 1.5 mm | 4 mm |
| Retraction Speed | 30 mm/s | 25 mm/s |
| Cooling Fan | 100% | 100% |
How to Print TPU Step by Step
Follow these five steps to get a successful TPU part on your first try.
Step 1: Dry the Filament
TPU is highly hygroscopic. If a roll has been open for more than 24 hours, you should dry it. Drying at 65°C for 4 to 6 hours is standard. A damp filament will make popping sounds at the nozzle and create many bubbles in the print.
Step 2: Load TPU Slowly
Manually push the filament at a speed of 1–2 mm/s until you see steady extrusion from the nozzle. Do not use high-speed loading modes.
Step 3: Set the First Layer
Set your first layer height to 0.2–0.25 mm and increase the extrusion multiplier to 105%. Keep your Z-offset slightly looser than you would for PLA (an extra 0.02–0.05 mm gap). This prevents the TPU from being squeezed too hard and bonding permanently to the build plate.
Step 4: Print at a Slow Speed
Maintain a consistent speed throughout the print. For devices that support adaptive flow compensation—such as the Flashforge Adventurer 5M Pro (AD5X)—the combination of high-rigidity linear rails and a closed-loop extrusion system ensures precise material delivery. Please note that for optimal performance and feeding reliability, the best hobby 3d printer Flashforge AD5X is specifically qualified for printing 64D TPU. This configuration is ideal for maintaining stable extrusion and ensuring part consistency during extended printing tasks.
Step 5: Remove the Print Carefully
Wait for the bed temperature to drop below 30°C before removing the part. Do not use force to pry it off. Flex the magnetic steel plate to let the model pop off naturally.
Common TPU Printing Problems and Simple Fixes
Even with the correct parameters, issues can occur. Here are the causes and solutions for the three most common problems.
- Stringing: This is usually caused by high temperatures or insufficient retraction. Try lowering the temperature by 5°C and increasing retraction distance by 0.5 mm increments. Enabling Combining mode also reduces travel moves across open spaces.
- Jamming: Clogs almost always stem from the filament buckling at the extruder gears. Check gear tension, PTFE tube alignment, and ensure your print speed is not too fast.
- Poor Bed Adhesion: This often results from insufficient first-layer extrusion or a cold bed. Lower the first-layer speed to 15 mm/s and raise the bed temperature to 60°C to solve this.
Easy TPU Print Ideas for Beginners
Beginners can start with these low-difficulty, high-reward projects: phone cases, bike handle grips, pet toys, door stoppers, camera vibration dampeners, earphone organizers, and yoga mat clips. These parts have simple structures but offer real-world value.
Tips for Better TPU Prints on a Hobby Printer
Follow three core principles for consistent quality: keep filament dry (use sealed boxes with desiccant), avoid large overhangs in your designs (TPU support removal is very difficult), and always test new parameters on large models with low detail first. Turn off random Z-seam alignment; a fixed seam position reduces visual flaws on flexible parts.
Also, enable Linear Advance or Pressure Advance in your slicer. This improves over-extrusion at corners. Many beginners overlook this step, but the results are immediate.
FAQ
Is TPU good for beginners?
TPU is beginner-friendly if you choose 95A hardness and use a direct drive printer. Failure modes like clogs or under-extrusion are easy to identify and the troubleshooting logic is clear.
What is the best hobby 3D printer for TPU?
A Direct Drive + CoreXY + high-temperature nozzle is the gold standard. Enclosed machines like the Flashforge Adventurer 5M Pro are particularly stable for TPU and suitable for home or studio use.
Can a Bowden printer print TPU?
Yes, but you should stick to 95A hardness or higher. Keep print speeds below 20 mm/s and retraction distance under 5 mm.
Does TPU need a heated bed?
It is strongly recommended. A bed temp of 50–60°C significantly improves first-layer adhesion. Printing TPU without a heated bed almost always leads to warping and failure.