Electric fencing works best when each part supports the next, from layout and bracing to grounding and final voltage checks. A weak point anywhere in that chain can lower output, invite escapes, and shorten equipment life. This guide explains the installation process in a practical order that suits daily farm use. Each section centers on field conditions, animal behavior, electrical flow, and simple upkeep that helps the barrier stay safe and dependable.
Plan the Route
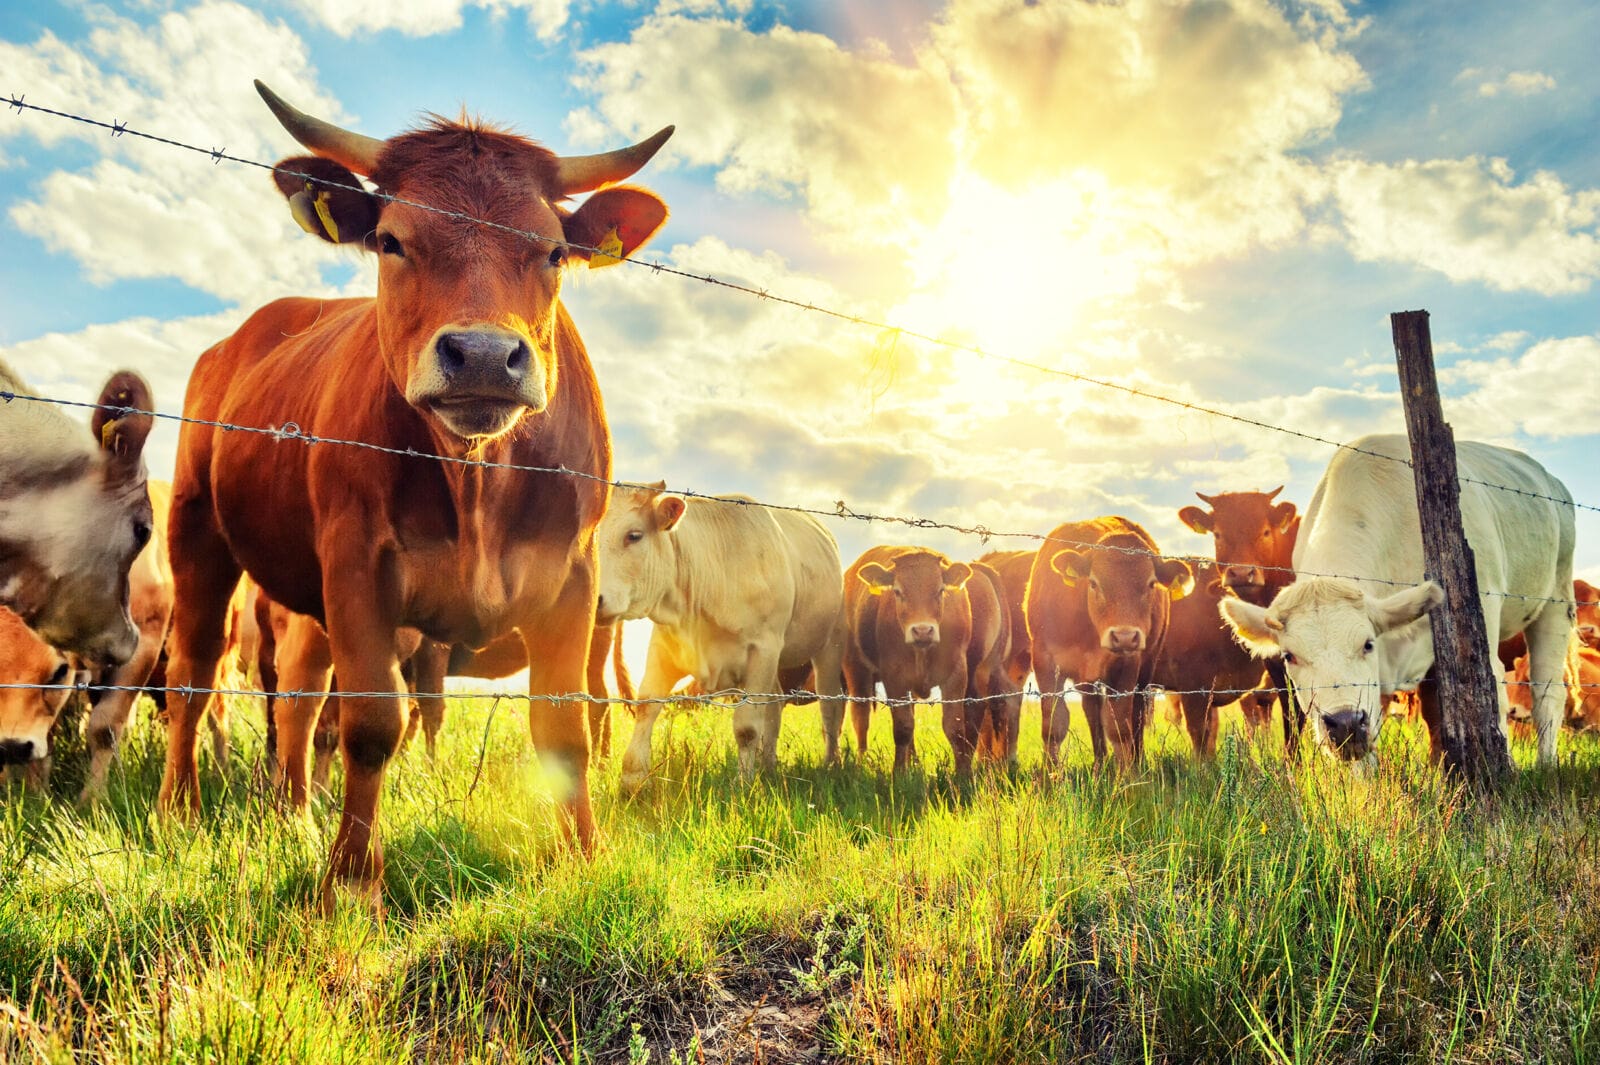
Fence performance starts with a route that respects animal traffic, gate access, forage patterns, and service paths. On many properties, a livestock electric fence helps separate grazing sections, guard feed storage, and block entry into crop margins without relying on heavy permanent barriers. Marking the line early also helps crews avoid wet hollows, buried utilities, brush contact, and sharp bends that often drain power after startup.
Check Local Conditions
Soil condition affects both post-holding strength and current return through the ground system. Dry, sandy ground often needs extra rods, while clay usually carries charge more efficiently. The weather also changes results across the year. Frozen surfaces can reduce conductivity, and saturated areas may loosen end assemblies. A careful site check helps us make better spacing decisions, control vegetation more cleanly, and reduce the need for corrective repairs after we energize the fence.
Choose a Power Source
The energizer should match fence length, conductor load, and the livestock being managed. A small enclosure may need only modest output, while broad pasture systems require stronger pulse energy. Mains units provide steady service where power is available nearby. Solar models suit remote paddocks with dependable sun. Battery setups work for temporary lines, though charge levels must be watched closely to prevent voltage drop during active grazing periods.
Set Corner Posts
Corner assemblies carry most of the mechanical strain in the entire system. For that reason, they should be deeper, heavier, and better braced than intermediate supports. Treated wood often performs well because it tolerates pull from tightened conductors and repeated gate use. Firm placement matters more than speed here. If a corner leans early, tension shifts unevenly, and the full run can lose alignment before the stock ever tests it.
Add Line Posts
Line posts keep strand height consistent and reduce the chance of animals slipping through low sections. Spacing depends on terrain, conductor type, and species pressure. Level ground can handle broader intervals, while dips and rises need closer support. Uniform height creates a cleaner visual boundary for stock. Predictable placement also limits sag, improves contact control, and makes later inspection easier for anyone maintaining the perimeter.
String Conductors
Conductors can be smooth wire, poly rope, or tape, depending on visibility needs and management goals. Each strand should stay tight enough to avoid weed contact, yet not so rigid that fittings crack under strain. Height must fit the animals inside the enclosure. Sheep, cattle, and horses respond to different strand positions. Sound insulation at every post is essential because leakage into the frame reduces effective shock delivery.
Build a Strong Ground
Grounding determines whether the pulse returns efficiently or fades into poor soil contact. Most installations need multiple galvanized rods placed in moist earth and joined with secure clamps. Short rods, corroded links, or loose hardware can weaken performance quickly. Ground connections should remain clean and firmly tightened. During dry periods, some crews moisten the rod area lightly, which can improve conductivity and support a stronger return path.
Install Gates and Signs
Gate openings should allow movement without interrupting current across the fence line. Insulated handles, spring sets, and buried cable help maintain continuity safely. High-traffic entrances benefit from strong anchors that tolerate repeated pulling and dragging. Warning signs are useful near shared boundaries, lanes, or public access points. Clear entry areas also lower the chance of workers stepping across energized strands while carrying tools, feed, or water equipment.
Test Before Use
Voltage should be checked before any animals enter the paddock. A reliable tester confirms whether the energizer, conductors, and ground system are functioning together as intended. Readings need to remain consistent along the full length, not merely near the power source. If values fall, the cause is often vegetation contact, loose joints, cracked insulators, or poor earthing. Those faults should be corrected before the barrier is trusted.
Maintain the Line
Routine maintenance keeps the fence effective through rain, heat, wind, and daily livestock pressure. Grass touching the wire, broken insulators, and fallen branches should be cleared promptly. After storms, gates and corners deserve close review because movement usually begins there. Many farms also keep a simple record of voltage readings, battery condition, and repair dates. That habit helps identify recurring faults before they become larger operational problems.
Conclusion
A dependable electric fence comes from steady planning, careful installation, and regular follow-up in the field. Strong corners, even spacing, sound grounding, and accurate testing each support safe animal control over time. When those basics are handled well, the barrier can guide movement calmly and reduce losses from damaged boundaries or escaped stock. Ongoing maintenance protects that investment, helping the system remain visible, functional, and trustworthy across changing seasons.