A spilled glass of water, a leaking dishwasher, or an overflowing sink doesn’t have to turn into a lasting headache — but it can, if it isn’t dealt with quickly and correctly. Speed matters not because every drop of liquid poses a danger, but because moisture left sitting too long has a way of working into flooring, soaking into padding, or settling into spots you can’t easily see. It helps to understand the difference between removing visible water and fully drying the affected area, since these two steps are easy to lump together even though they serve different purposes. Depending on the material and how much liquid is involved, you might reach for towels, a mop, or a wet & dry vacuum—but only when that device is specifically designed and rated for liquid pickup. Equipment should never be used around water unless the manufacturer’s instructions, electrical rating, and attachments clearly allow it. This guide covers minor household incidents, not major flooding, sewage contamination, or extensive mold remediation, all of which call for professional help.
Assess the Situation Before Cleaning
Before you reach for any cleaning tool, figure out what kind of liquid you’re actually dealing with. Clean water from a tipped glass or a small plumbing leak is a far cry from water that’s come from a toilet, drain, or flooded area, which may carry contaminants. Chemical spills, meanwhile, come with their own product-specific handling instructions. Stop the source before you start cleaning—whether that means shutting off a valve or simply moving a container—since any ongoing leak will undo your cleanup efforts almost as fast as you finish them. Contaminated water usually calls for professional help rather than a standard household response, since everyday cleaning products just aren’t built to handle biological hazards.
Electrical and structural risks deserve just as much caution. Keep cords, outlets, and appliances well away from standing water, and only cut the power when it’s safe to do so—never wade into a flooded area to reach an electrical panel. Keep an eye out for ceiling stains, warped flooring, or wobbly furniture, since these can point to a bigger problem lurking underneath. When this isn’t a DIY job: substantial leaks, visible structural damage, or contaminated water are all signs it’s time to call in a qualified professional rather than attempt a quick fix yourself.
Match the Cleanup Method to the Surface
Hard, nonporous surfaces are generally the easiest to handle—clear away the standing water, then clean with an appropriate detergent, paying close attention to seams, corners, and baseboards, where moisture tends to hide. Carpets and rugs need prompt blotting to keep the spill from spreading, followed by moisture extraction and plenty of airflow. Rug pads and carpet backing often hold onto water long after the surface looks dry, so it’s worth avoiding oversaturation during cleanup. Upholstery and mattresses should be checked against their care labels first; absorbent towels and steady airflow are a safer bet than soaking these materials, since deeply saturated padding can be stubbornly difficult to dry out completely. Wood, laminate, and engineered flooring call for quick liquid removal, especially near seams, and should be watched afterward for swelling, cupping, or discoloration.
A Practical Step-by-Step Response
Quick response checklist:
1. Stop the source and move people, pets, or objects away from the area.
2. Make the area electrically safe before using any equipment.
3. Remove standing water using a method suited to the surface and amount.
4. Clean the surface with a compatible product, following label instructions.
5. Dry completely using ventilation, fans, or a dehumidifier when appropriate.
6. Inspect surrounding areas, including under furniture and baseboards.
7. Monitor for lingering odors, discoloration, or recurring dampness.
Why Drying Matters More Than Surface Appearance
A surface can look and feel perfectly dry while moisture is still trapped beneath the flooring, carpet padding, or drywall. Public-health guidance commonly recommends keeping indoor relative humidity somewhere between 30% and 50% to discourage mold growth [1][2]. Water-damaged materials should be dried as quickly as possible—ideally within 24 to 48 hours when that’s feasible [3][4]. Exactly how long that takes depends on material thickness, ventilation, temperature, humidity, and whether moisture made its way into an absorbent backing or subfloor. A humidity or moisture meter can be genuinely useful when a leak has reached porous materials or hidden spaces. Removing visible water is only the first stage; complete drying is what actually limits lasting damage and mold risk.
Prevent Mold and Recurring Moisture Problems
Addressing the underlying cause—rather than repeatedly cleaning up the symptoms—is at the heart of mold prevention [1][3]. Repair leaking pipes, fixtures, or roofs, and keep an eye on areas prone to condensation, such as bathrooms and basements. A few routine habits go a long way, too: ventilate damp rooms, run a dehumidifier during humid stretches, and keep furniture slightly away from exterior walls, where condensation likes to form. Know when to call a professional—extensive flooding, contaminated water, widespread mold, or hidden moisture in walls or ceilings generally fall outside the scope of typical household cleanup.
Common Mistakes to Avoid
- Using an appliance for liquid pickup that isn’t rated for it
- Operating electrical equipment in an unsafe wet area
- Covering a damp carpet or floor before it’s fully dry
- Painting or deodorizing over active moisture or mold
- Never mix cleaning chemicals—bleach and ammonia, for instance, can produce hazardous vapors [5]
- Assuming a musty smell will fade on its own once a surface looks clean
A Real-World Example
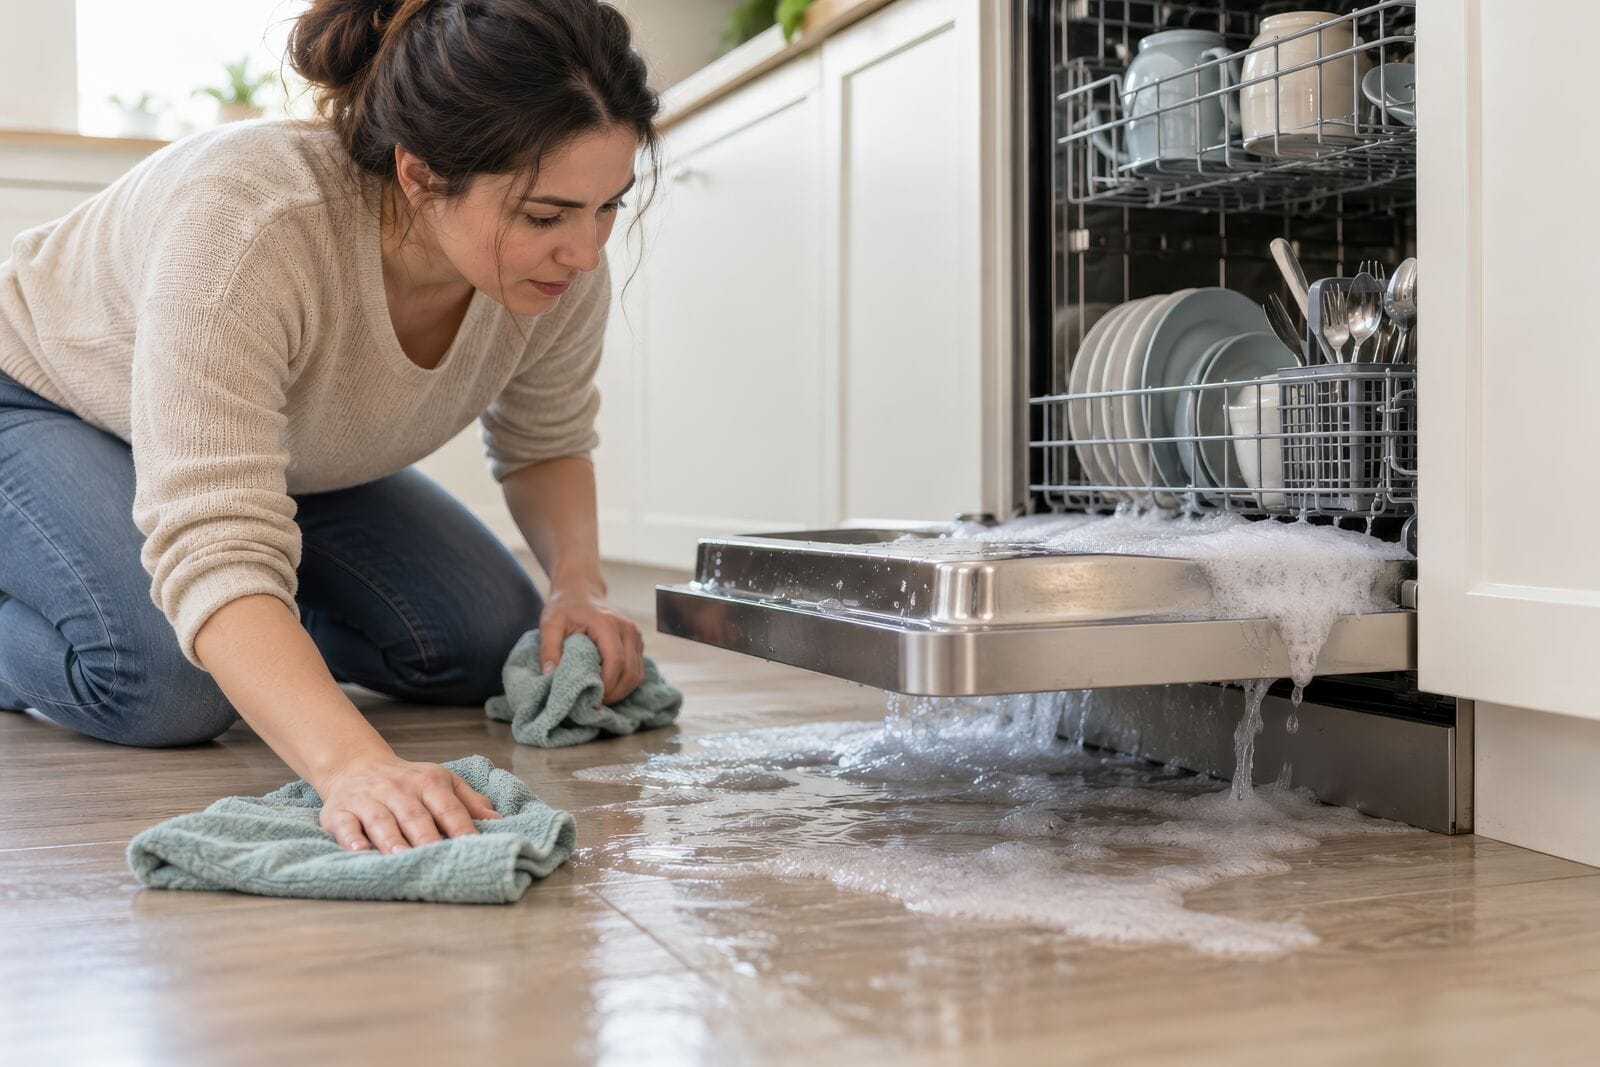
Picture a dishwasher leak spreading across a kitchen floor. A small, clean-water spill on tile might need nothing more than prompt wiping and drying. But if the water reached a nearby carpeted area, or sat long enough to soak into a baseboard, the response needs to change—extraction, ventilation, and ongoing monitoring for swelling or odor all become part of the job. Damp edges, cold spots, or a lingering smell days later are practical warning signs that the drying wasn’t finished the first time around.
Keeping the Focus on Moisture Control
Effective cleanup really comes down to a consistent sequence: stop the source, remove the liquid safely, clean the surface, and dry the surrounding materials all the way through. The right method always depends on the liquid involved, the surface affected, and whether contamination is a concern. Rather than relying on repeated surface cleaning, it’s worth inspecting recurring problem areas and tackling leaks at their source—an approach that does far more to protect a home’s materials and indoor air quality over the long run.