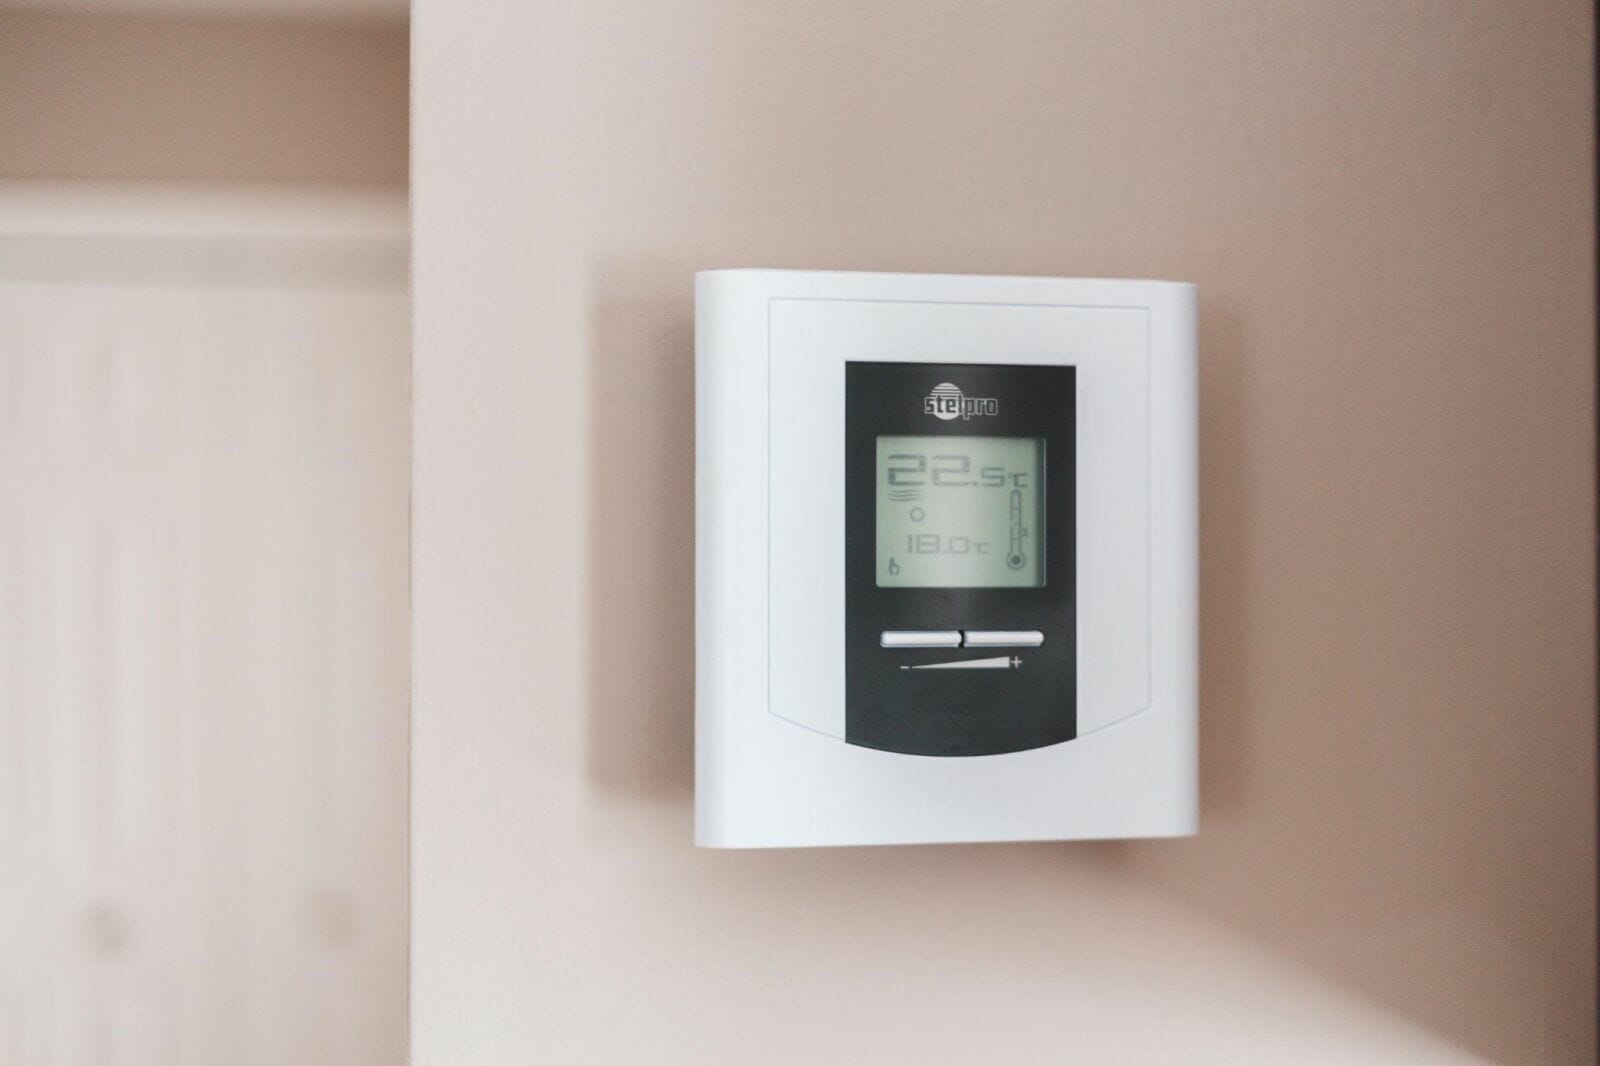
Most modern thermostats come with an in-built WiFi feature. This is quite important for homeowners since it opens new opportunities for them. However, getting WiFi working on these appliances can be a little bit difficult for some homeowners.
Different thermostats have different ways of setting up connectivity to WiFi networks. Some of the most popular and convenient thermostats are manufactured by Honeywell. Their devices can be controlled remotely, bringing a smart home to genius levels.
Let us assume that you have bought a new Honeywell thermostat or even your existing one has lost connection to your WiFi network.
In both scenarios, you will want to ensure that your thermostat is connected to WiFi. How do you do that? Should you consult a professional to help you with your connectivity issues?
Thermostat Lost WiFi Connection
You might find yourself in a situation where your existing thermostat is not connected to your WiFi network. You might even have purchased a new one but still cannot connect to the WiFi.
Here are a few things you need to do and/or check;
1. Wireless range
The signal of your wireless network might not access every part of your house. It is also affected by barriers in the house as well as electromagnetic interference. You, therefore, need to optimize your WiFi connection and place the router in a central location in your house. This creates a strong signal that can reach the thermostat for a good connection.
2. The frequency of your WiFi network
It is important to note that most Honeywell thermostats use the 2.4GHz WiFi frequency. Check your router to ensure that it is transmitting the 2.4GHz WiFi frequency to enable connection to your thermostat.
3. Thermostat power
You need to ensure that your thermostat is powered. Honeywell thermostats that have the WiFi feature need to be supplied with power through the common or C wire cable. If you realize that your thermostat is not powered, then you might have some wiring problems.
4. Router firewall
Some routers have configured firewalls that prevent devices such as thermostats from connecting. You need to reconfigure your router’s firewall to ensure that such devices are allowed to connect.
5. Restart your router
Sometimes, most WiFi connection issues are solved by simply restarting your router. This clears the router of any issues that it might have especially when broadcasting the WiFi signal.
6. Reset your thermostat WiFi
If none of the solutions shared above works, you might have to reset Honeywell Thermostat WiFi. You can do this from your smartphone using the Honeywell application or by resetting the thermostat itself.
Connecting Your Honeywell Thermostat to WiFi
As discussed above, different thermostats have different ways of connecting them to a WiFi network. In this article, we will discuss how to connect the Honeywell 8000 and 6000 models to WiFi.
Setting Up WiFi on Honeywell 8000 Model
1. Ensure that your thermostat is turned on and then press the System button.
2. For ten to fifteen seconds, press the second and fourth blank boxes.
3. Using the up and down arrows, adjust the number on the left to exactly 0900.
4. Again, use the up and down arrows to adjust the number on the right to exactly 0.
5. Press Done after the first four steps above are successful.
6. You will see a flashing WiFi setup on the screen.
Setting Up WiFi on Honeywell 6000 Model
1. Press and hold the up arrow and fan buttons for approximately ten to fifteen seconds.
2. Keep pressing the Next button until you see the number 39 displayed. This number will be displayed on the left side of the screen.
3. Using the down arrow button, change the number displayed on the right-hand side of the screen to 0.
4. Press Done after completing the above steps.
5. You will see a flashing WiFi setup on the screen.
After the steps above, you will need a smartphone, laptop, or tablet to connect your thermostat to a WiFi connection.
Ensure that you have the WiFi password as well and then follow the steps below;
1. Check the list of available devices on your smartphone, laptop, or tablet, and then select the network that has initials similar to NewThermostat_XXXXXX.
2. Connect to this network and choose Home Network in case you are asked.
3. After a successful connection, visit 192.168.1.1 on your browser to connect to your thermostat’s setup page.
4. Here, you will see all available WiFi networks. Select your home network and connect to it.
5. Provide your WiFi password and any other information that is required to connect to your WiFi network and then click on the Connect button.
6. A successful connection will be displayed on your thermostat.
7. If you want to have access to your thermostat remotely, then you will be prompted to register at Total Connect.
Following these steps, you will solve any thermostat WiFi connection problems, reconnect your thermostat to WiFi, or connect a new Honeywell thermostat to WiFi.


