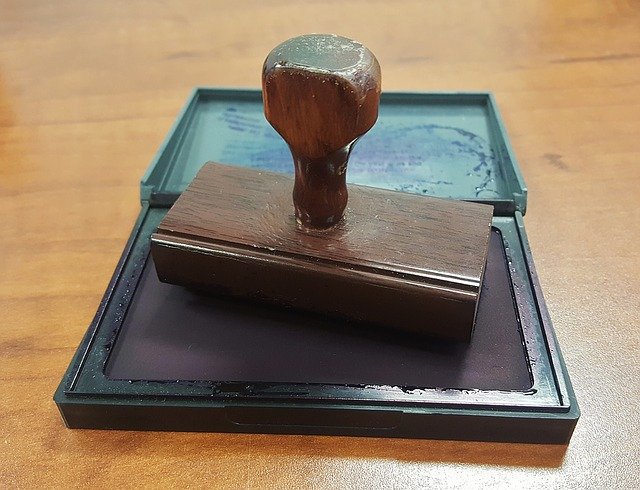
Traditionally, making a stamp for your business was a hectic process. From creating the design to ensuring it fits the size, the process involved too many steps. And most often, you ended up getting exhausted by dealing with the frequent demands of a stamp maker. But thanks to the internet, the world has become a better place. Today we can get our desired food delivered to our doorstep and connect with a client across continents, all thanks to the magic of the internet. And the process of stamp-making is not oblivious to this magic. Today, you can get your personalized stamp online with a few clicks and by without going through any rigorous process.
Here we provide you a step-by-step guide to make a personalized stamp online.
1. Visit an online stamp maker:
The journey to get your personalized stamp online begins by visiting the website of an online stamp maker. Although there are plenty of service providers in the market, you should choose an experienced and reliable stamp maker who comes up with a clutter-free process and easy-to-use interface. The best way to judge an online stamp maker is to see how reliant its ‘stamps designer tool’ is. Choose a stamp designer tool that requires you to go through only a few clicks and doesn’t have a tedious process.
2. Select the stamp shape:
After you have selected the ‘stamp designer tool,’ the actual stamp designing process starts. In the beginning, you will have to choose the shape of the stamp. Generally, there are three shapes: Round, Square, and Triangle.
3. Select the stamp size:
The stamp designer tool will ask you to set the stamp size based on your stamp shape. If you have already decided the size, you can proceed by entering that size. However, you can experiment and try out various sizes if you are unsure about the design elements.
4. Designing the outer-frame of the stamp:
All stamp designs have an outer-frame. The shape of the frame is similar to your stamp shape. For example, a triangular stamp has a triangular outer-frame, while a square stamp has a rectangular outer-frame. You begin your stamp designing process by designing this outer frame. You can change the size and thickness of this outer-frame as per your requirements. If your design is more complex, you can add more elements to add more frames.
5. Add text to your stamp:
A stamp has two text types: Text around the frame and the text at the centre. You can add text to your design after you have finalized the thickness and the outer-frame size.
The stamp designer tool will have the ‘add text’ option in the menu. Select this option and type the text as per your requirement. The ‘Text in the center’ option allows you to add text at the center of the stamp. This text is the most important part of your stamp. Generally, the ‘Text around the frame’ option is useful to write additional information in the stamp as this text appears around the frame.
6. Add picture in the stamp:
After you have written the text, you can add pictures to the design. There will be the ‘add picture’ option in the stamp designer tool menu. Select this option to add photos to the stamp design. Most online stamp makers have an image gallery. This gallery is a collection of templates that you can use as standard images. If you have a customized photo, you can upload it to the gallery. Check out which image format is acceptable and upload the image from your computer accordingly. Once you upload the image successfully, you can change its size and position in the stamp.
7. Verify the design and download:
Now we are at the final stage of the online stamp making process. Once you have edited the frame and have added your text and images, you will have to verify the design to ensure there are no errors. After verification, your stamp design is ready to download.


