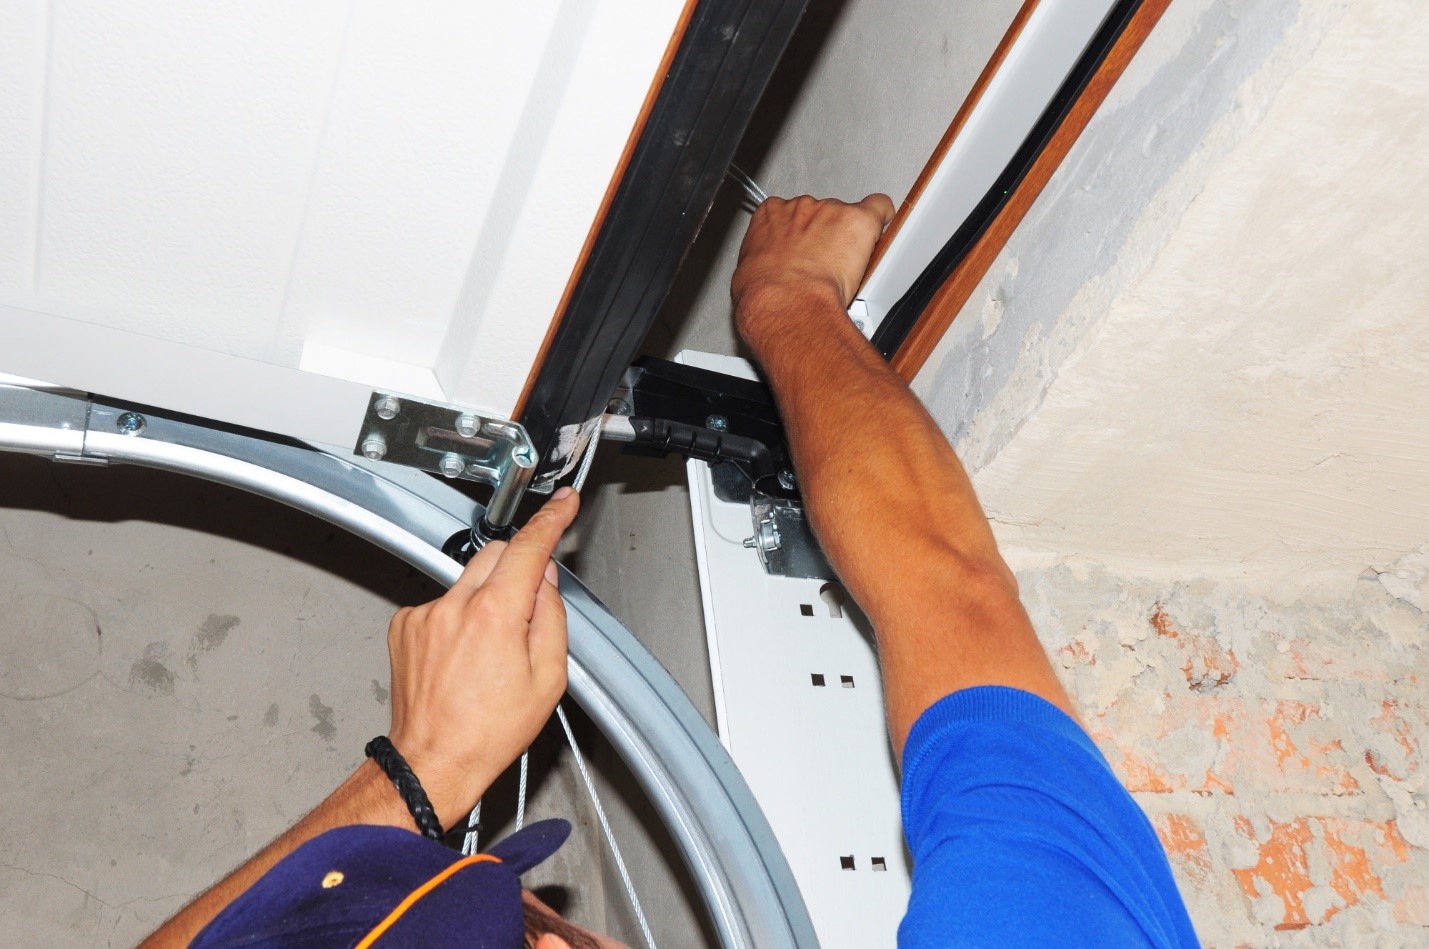
Are you looking to repair your garage door?
Hiring a professional to repair your garage door can be a costly investment. When the problem isn’t that severe, it’s better to save some money for other home improvement projects. If you’re looking at a minor garage door repair, try doing it yourself.
What are some repairs you can do?
In this guide, you’ll learn some easy garage door repairs. You can do these as long as you have some handyman skills. Read on and find out:
1. Replace Rotting Garage Trim
Your garage trimming prevents your door from getting water and weather damage. Over time, it becomes ragged and old. When it starts rotting, it’s time for you to replace it.
With good trimming, your garage door exterior looks better while protecting its interior. To do this, remove the trim using a crowbar and a hammer. After pressing on the trim, use tug the crowbar to get rid of it.
Remove the nails using a claw hammer and diagonal pliers. Measure the top of the garage door opening where the trim was. Using a miter saw, separate the trim according to these measurements.
Insert the trim and use a hammer to position it. Put the nails every 8 inches before hammering it. Finish it by putting caulk to close nail holes and cracks.
2. Clean a Rusty Door Track
Tracks allow your garage door to lift or lower. If the tracks become rusty or damaged, the door becomes harder to move. Its movement becomes rough, and it will likely make screeching noises.
To maintain this component, remove the debris accumulated around it. Use a spray bottle filled with a mixture of hot water and a liquid detergent. Wipe and clean the area with a rag afterward.
Use steel wool to remove the rust. For stubborn areas, use either sandpaper or sand sponge since it makes paint stay on the surface. Use vinegar-soaked rags to get rid of the remaining rust.
3. Fix the Photo Eye
If the photo eye has issues, your garage door may not lower all the way. This feature uses infrared beams to prevent the door from closing if something blocks it. In most cases, something will block the photo eye or cause it to become misaligned.
When this happens, the garage door stops closing before reaching the floor. It will reverse open, thinking that an object is in its path. Your garage door opener blinks rapidly when this situation arises.
Fix it by adjusting the pivot bracket to fix its alignment. Remove cobwebs, dirt, and other debris around it. If something blocks the sensor’s beam, relocate it somewhere else.
4. Silence a Noisy Garage Door
Loose hardware or dry metal parts often cause noise. It happens because of the constant friction between the door’s components as they move. It’s easy to fix and prevent since it often needs lubrication.
A good practice to follow is spraying lubricant on roller bearings, hinges, and lift cables every two months. Tighten any loose nuts and bolts on the track and garage door. Replace your rollers and hinges if they’re worn out.
5. DIY Garage Door Cleaning
Your garage door’s exterior condition affects your home’s curb appeal. If you clean it on a regular basis, it will improve its lifespan. A well-maintained garage door will last up to 20 years with the right quality.
To start, use a wet cloth and mild dish soap to wash your garage door. Hose it down with clean water to rinse it. If you have no wet cloth, acceptable alternatives include sponges and soft-bristle brushes.
Steel garage doors are often prone to the corrosive effects of salt air. Protect it using a spray-on car wax every six months. It also helps maintain its excellent finish.
For glass garage door windows, use non-abrasive cleaners. Soap and water are perfect for the job.
6. Fix a Clattering Garage Door
A clattering garage door often means that some small components are loose. It means some hinges, bolts, and nuts aren’t as tight as they were before. It happens because of temperature changes both inside and outside the garage.
When this happens, it causes these components to either expand or contract. It’s what makes these adjustments necessary sometimes. Fixing this issue is easy since you’ll most likely have the tools necessary to tighten everything up.
7. Replace Weather Seals
Weather seals are great accessories that control the air. It means your garage won’t overheat during the summer or freeze in the winter. It also prevents your garage floor from getting wet whenever it rains.
When critters start sneaking inside your garage, it’s time to replace your weather seal. You can do this project within the day without spending over $100.
Before replacing your weather seal, measure your garage door. Getting the right size is important since it reduces the time and money wasted due to mistakes. Remove the old weather seal and install the threshold after.
8. Fix Garage Door Cables
Cables work with springs and other components to lift and lower your garage door. When either part is dysfunctional, the door won’t work. It’s because the cables connect the spring to the door.
As time passes, the cables will fray and break as part of the wear process. When this happens, replace it as soon as you can. Turn the garage door opener off to release the cable tension.
Open the garage door and put c-clamps under it. This ensures the door stays up. After that, you can replace the frayed cable after unhooking the springs.
Check this Garage Door Cables How To Install DIY guide to replace the cables.
Do Your Garage Door Repairs Today
Whether it’s garage door motor repairs or other components, these DIY tips will make it easier and safer. Never forget to call a professional when the garage door repairs look too complex.
Did this help you get garage door repair ideas? If so, we have more guides that help you with DIY projects.


