Transform your living space with DIY woodworking. Have you ever thought about making floating wood shelves? It’s a fun, rewarding project.
Floating wood shelves add elegance and functionality to any room. They create extra storage and display space effortlessly. Don’t worry if you’re new to DIY woodworking.
This guide simplifies the process. Step-by-step, you’ll learn how to craft these shelves. From gathering materials to the final touch, we cover it all.
Ready to turn those empty walls into stylish, practical features? Follow along as we explore the world of DIY floating wood shelves.
Choosing the Right Wood
To create your rustic floating wood shelves choose the right type of wood. You want a sturdy, durable material that can support the weight of books, decor, and other items you plan on displaying.
Some popular options for floating shelves include pine, oak, cedar, and birch. Each type has its unique characteristics and aesthetic.
Gathering Materials
Gather the necessary materials for your project. In addition to the wood itself, here are some other essential items you will need:
- Measuring tape
- Saw
- Sandpaper
- Wood stain or paint (optional)
- Drill and screws
- Level
- Stud finder
Building the Shelves
To embark on creating your rustic floating wood shelves. Begin by measuring and cutting your wood to the desired shelf size, ensuring you take into account the depth as well.
Smooth out any rough edges or imperfections with sandpaper to achieve a refined finish. If you’re aiming for a specific look, optionally, you can stain or paint the wood in your preferred color – click for red oak floating shelves for a warm, inviting tone.
Using a stud finder, locate the studs in your wall where the shelves will be mounted. It’s crucial to make sure your marks are straight and even with a level for a professional appearance.
Pre-drill holes into the studs at the marked spots to prepare for the shelf brackets. Securely attach the brackets to the wall with screws, ensuring they are firmly in place. Place the wood shelves onto the brackets and fasten them with screws for stability.
For added durability, you can attach L-shaped metal braces underneath the shelves. Double-check that the shelves are perfectly level and securely attached.
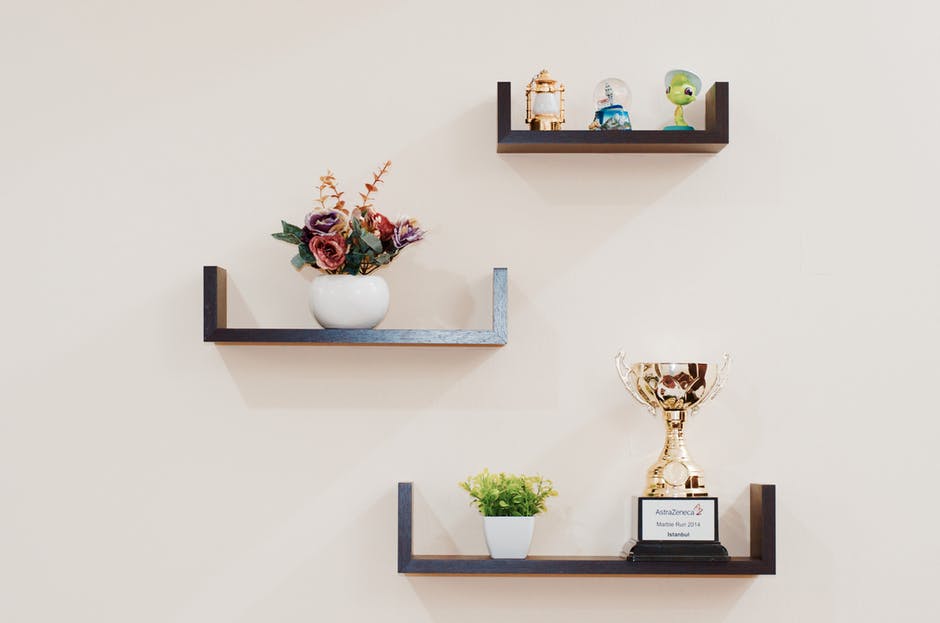
Decorate Your Space
To add some personal touches to your space. Use them to display your favorite books, plants, photos, or decorative items. You can also switch up the look of your shelves by changing out the items displayed on them seasonally or for different occasions.
Maintenance and Care
To ensure your floating wood shelves remain in pristine condition, proper maintenance and care are key. Regular dusting and cleaning with a soft cloth will keep them looking new. It’s crucial to avoid placing heavy or oversized items on the shelves to prevent damage.
Periodic touch-ups with stains or paints can refresh areas that have chipped or worn off. Checking the stability of the shelves every few months and tightening any loose screws will help maintain their durability and safety.
Discover Floating Wood Shelves for Rustic Home Design
Creating rustic floating wood shelves is a rewarding experience. These shelves add beauty and functionality to any space. They turn simple home decor projects into timeless pieces.
With the right tools and materials, anyone can achieve this. Floating wood shelves offer endless possibilities for display. They transform rooms with minimal effort and maximum impact.
This project shows that with creativity, you can enhance your home. Start your floating wood shelves project today and revamp your space.
Did you find this article helpful? If so, check out the rest of our site for more informative content.