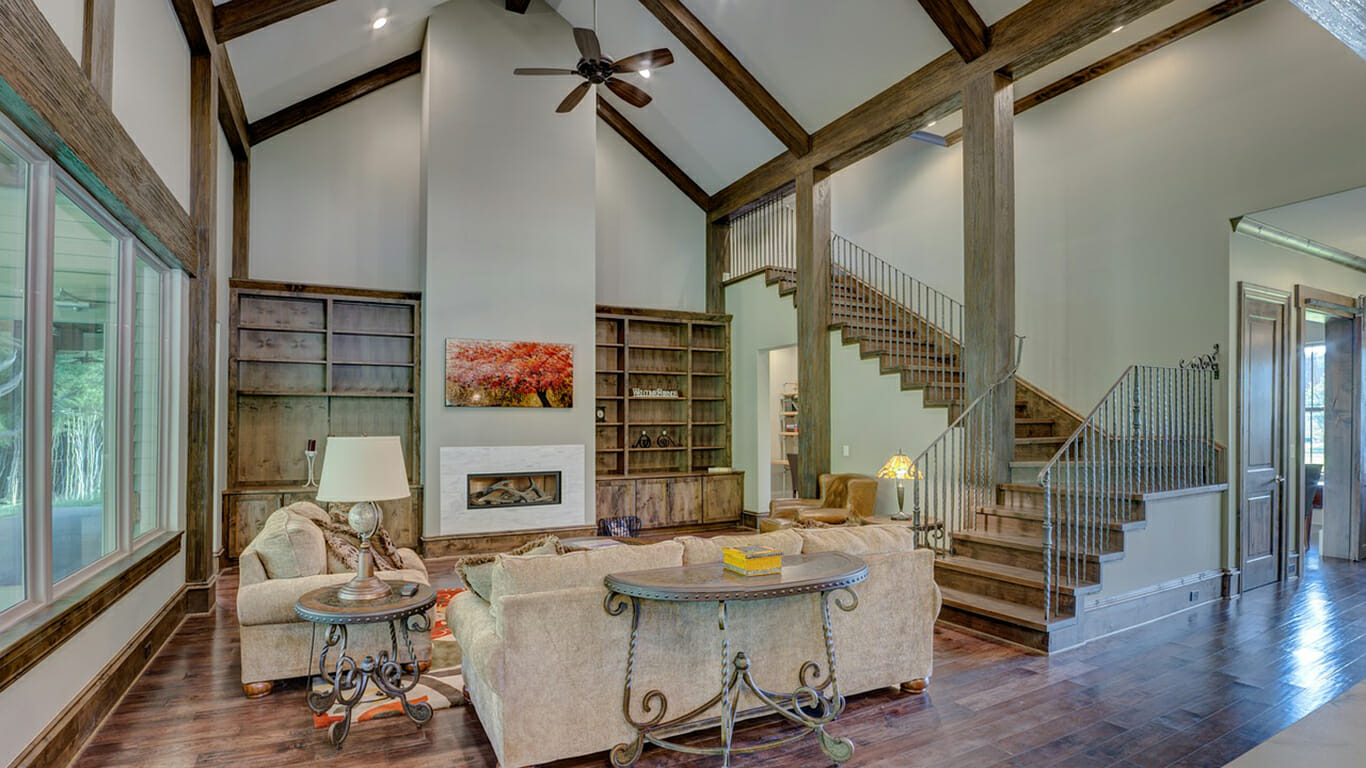
As an eye-catching feature, a textured ceiling can give any room personality and depth. But picking out and putting down the right texture needs careful planning if you want a smooth, professional look. This article will guide you through the steps to install the perfect textured ceiling for your space.
MORE NEWS: The 10 most affordable places to live in Arizona
1. Choosing the Right Texture Style
First, choose the style of textured ceiling that will go with the look of the room. Common texture styles include popcorn, knockdown, and swirl patterns. Each style has a unique appearance, so decide on one that complements your room’s decor.
Popcorn textures are great for hiding imperfections, while knockdown and swirl add a decorative touch. Take time to research or view samples to understand how each style will look when finished.
Style, lighting, and ceiling height should all help you decide on a texture. After making up your mind, you can move on to the next step.
2. Preparing the Ceiling Surface
While cleaning the ceiling, check for dust, cobwebs, and paint. Lack of holes or cracks will preserve the textured look.
Sand the patched areas lightly once they dry, so they’re even with the ceiling. This process helps the texture stick properly and prevents peeling.
Finally, wipe the ceiling to remove any leftover dust from sanding. A clean, prepared ceiling will make the texture application easier and more professional-looking.
3. Gathering the Right Tools and Materials
You’ll need a texture mix (like joint compound or spray texture), a trowel, a roller, and a mixing bucket. Some tools, like a stomp brush or knockdown knife, may also be needed depending on the style you choose.
It can be easier to use a texture sprayer when you are adding a spray-on texture. For dust protection, make sure you wear a mask and goggles. You can keep the project running smoothly without any problems if you get everything together before you start.
4. Protecting the Room and Surroundings
Before applying any texture, protect the room to keep it clean. Floors, walls, and furniture should be covered with drop cloths or plastic sheets.
Also, use tape to keep the plastic in place while you work. Cover any ceiling trim, lights, or fans with painter’s tape.
By keeping everything covered, you will not have to clean up any splatters that happen while you are texturing. This step is essential, especially if you’re working with spray texture, which can spread easily.
5. Applying the Texture
If you’re using a premixed texture, follow the package instructions for application. Use a trowel or roller to spread the texture evenly across the ceiling surface.
If you’re doing a pattern like knockdown or swirl, use the right tool to create that effect right after spreading. Work in small sections to ensure you have control over the texture before it dries.
For spray texture, hold the sprayer at a consistent distance from the ceiling to apply evenly. Keep your pace steady for a smooth finish.
6. Let the Texture Set and Dry
This usually takes several hours, but drying times may vary based on room temperature and humidity. Avoid touching or disturbing the texture while it dries, as this could damage the pattern.
You can use a fan to help with drying, but avoid high humidity, which can slow down the process. Once it’s fully dry, the texture will harden and stay in place. Check the manufacturer’s drying recommendations to make sure it’s completely set before continuing.
7. Adding a Finishing Coat
Choose a primer that suits the texture material, as it helps the paint stick better. Apply a thin layer of primer with a roller, ensuring even coverage.
After the primer dries, paint the ceiling with your desired color. Light shades often work well, making the room feel larger and brighter. This final coat will not only improve the look but also help protect the texture from moisture or stains.
Maintaining Your Textured Ceiling
Regular cleaning, timely repairs, and mindful inspections ensure your ceiling remains in top condition. If you have an older home with possible asbestos concerns, prioritize health by consulting professionals for asbestos removal nz to keep your home safe and your ceiling looking its best.


