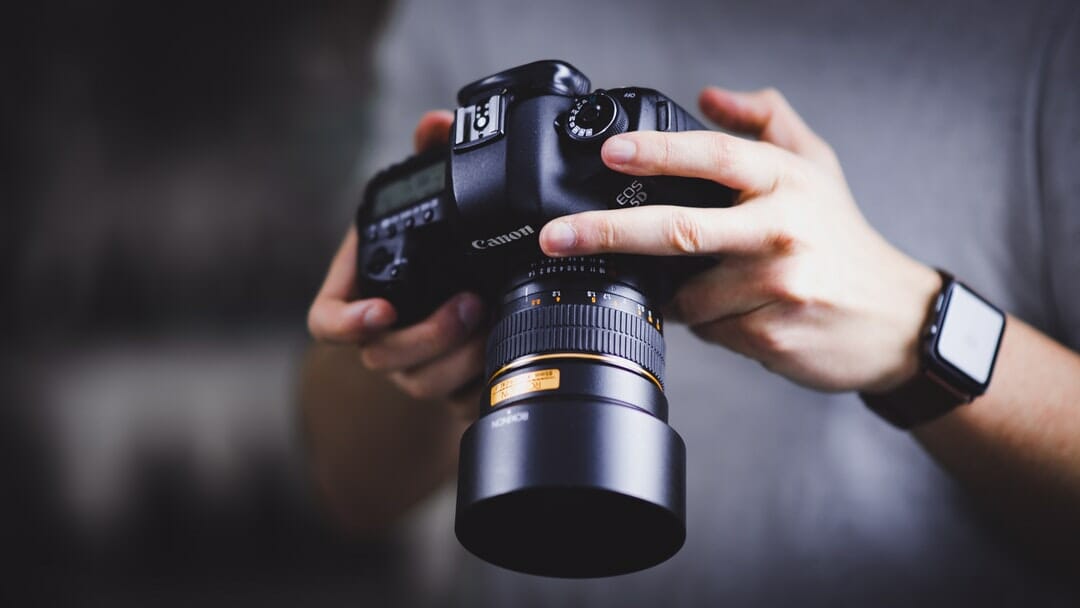
In photography, sharpness can make or break a picture. Crisp details define the photo’s visual appeal and storytelling impact. Soft and blurry snapshots are quite common, and achieving optimal clarity is not an easy task. The modern photo editing software market is full of image sharpeners to help photographers achieve visual perfection, but producing crisp photos without compromising their original quality may be challenging.
In this article, we explain how to enhance image sharpness while maintaining quality. We will explore the common causes of unsharp images, preparation tips, and effective sharpening methods with modern photo enhancers. Unlock the potential of every pixel and bring your photos into perfect focus!
DEEPER DIVE: 20 emerging business categories gaining traction in Arizona
Causes of Soft or Blurry Images
There are several factors affecting your photos’ clarity. The most common reasons are the following:
- Even the slightest movement during a shot can result in a blurry photo, especially in low-light conditions and/or longer exposures. A tripod or a stabilizing feature can mitigate this problem.
- Focus issues may occur due to user error or autofocus misjudgments. Complex scenes with multiple potential subjects or environments with insufficient contrast require more meticulous focus adjustments.
- Moving subjects can also contribute to blurred photos. A faster shutter speed can help capture subjects in motion for sharper images.
- Inadequate lighting can affect the camera’s ability to capture sharp images. Cameras often compensate for low light by lowering the shutter speed or increasing the ISO. However, these adjustments may potentially compromise the image’s quality. Careful post-processing can help manage the consequences.
- The quality of the lens impacts the blurriness of the photo. Lenses with wider apertures or higher-quality glass can produce clearer images.
Preparations
Before you use the photo sharpener, ensure the original file is in the highest resolution and the least compressed format. RAW is preferable because this file format contains more data to work with during editing.
Address any exposure and contrast issues. Use a color palette generator to ensure the tonal presentation matches your creative intentions. Tweak the color balance sliders in your software to eliminate inconsistencies. These adjustments affect pixel quality and make it easier to identify and eliminate blurry spots. Adjust the photo’s size to tailor future sharpening accordingly. Make sure your monitor is correctly calibrated. Conduct your post-processing workflow to focus on the most intricate details.
Sharpening for High-End Quality Step-by-Step
Step 1: Preserve the Original
Create a copy of the original photo or duplicate the layer in the Layers mode if your software does not support non-destructive editing. It will provide you confidence and creative flexibility without risking losing the original image’s data.
Step 2: Sharpen the Photo
Apply the sharpening filter. Depending on your editor, it’s either Unsharp Mask, Smart Sharpen, or just Sharpen. Use global sharpening to adjust the entire image. Use selective adjustments if you need to work on only particular areas, such as a model’s eyes in a portrait or refined facade embellishments in an architecture shot. Layer masks and adjustment brushes will ensure optimal precision.
Step 3: Adjust the Settings
Even if you use an AI image sharpener, manual control over the adjustment’s intensity and amount is essential for preserving and improving quality. Use the radius setting to specify the size of the edge details to enhance. The more fine detail your photo includes, the lower the settings should be.
Step 4: Preview the Changes
View your final image on different devices (other monitors, tablets, smartphones). Test how the edited photo looks in different outputs, such as on-screen and print. Many photo editing programs have a “soft proofing” function for this purpose.
Step 5: Fine-Tune Your Edits
Go back and tweak the settings if necessary. Use a layer mask to paint over areas that may be overly sharp or grainy. Modify the blending mode to ensure the edited areas do not look out of place or overpower the composition.
Step 6: Save the Results
Once satisfied with your work, save the edited file in your preferred format. JPEG is common and easy to load on web pages, but its high compression might affect sharpness. Adjust the compression settings carefully to balance file size and image quality. Formats like TIFF or PNG provide lossless compression and better quality.
Step 7: Share Your Files
The resolution and DPI (dots per inch) settings should be suitable for the output format. For print, a higher DPI (typically 300 DPI) is standard. Adjust the sharpness slightly higher than what looks optimal on your computer screen. Paper type and printing process can also impact the final look.
Screen resolutions can vary for different devices, but they are typically lower than for printing. For instance, a high-resolution monitor will display more detail. In this case, you might need less sharpening than for an image viewed primarily on smartphones.
Conclusion
The recommendations highlighted in this guide can help you master the art of photo sharpening. Follow our tips to ensure your images always look as clear and deep as they deserve to be. Keep learning, keep experimenting, and let every photo you edit be a step toward perfection!


