Deep cleaning your apartment doesn’t have to be stressful.
Many renters avoid deep cleaning because the don’t know how to deep clean an apartment. It’s also due to stress.
They miss out on the benefits of a clean apartment, which not only helps you feel organized, but can actually decrease your stress levels.
To help minimize the stress, we’ve laid out our tips on how to deep clean an apartment so you don’t have to wonder where to start or finish. Continue reading so you can get started.
Frequency
Your first question regarding how to deep clean an apartment is probably related to frequency. We recommend going through this process at once at least every 6 months.
It can be difficult to find the motivation to clean every week, let alone deep clean every 6 months, but there are many benefits to deep cleaning an apartment. Studies show that a clean and organized home can lower stress levels and help you feel more organized in other aspects of your life.
If deep cleaning is causing you any stress, keep in mind that you have the option of breaking down the below list and tackle one room at a time (as spread out as you would like) so it’s not as big of an undertaking.
Supplies
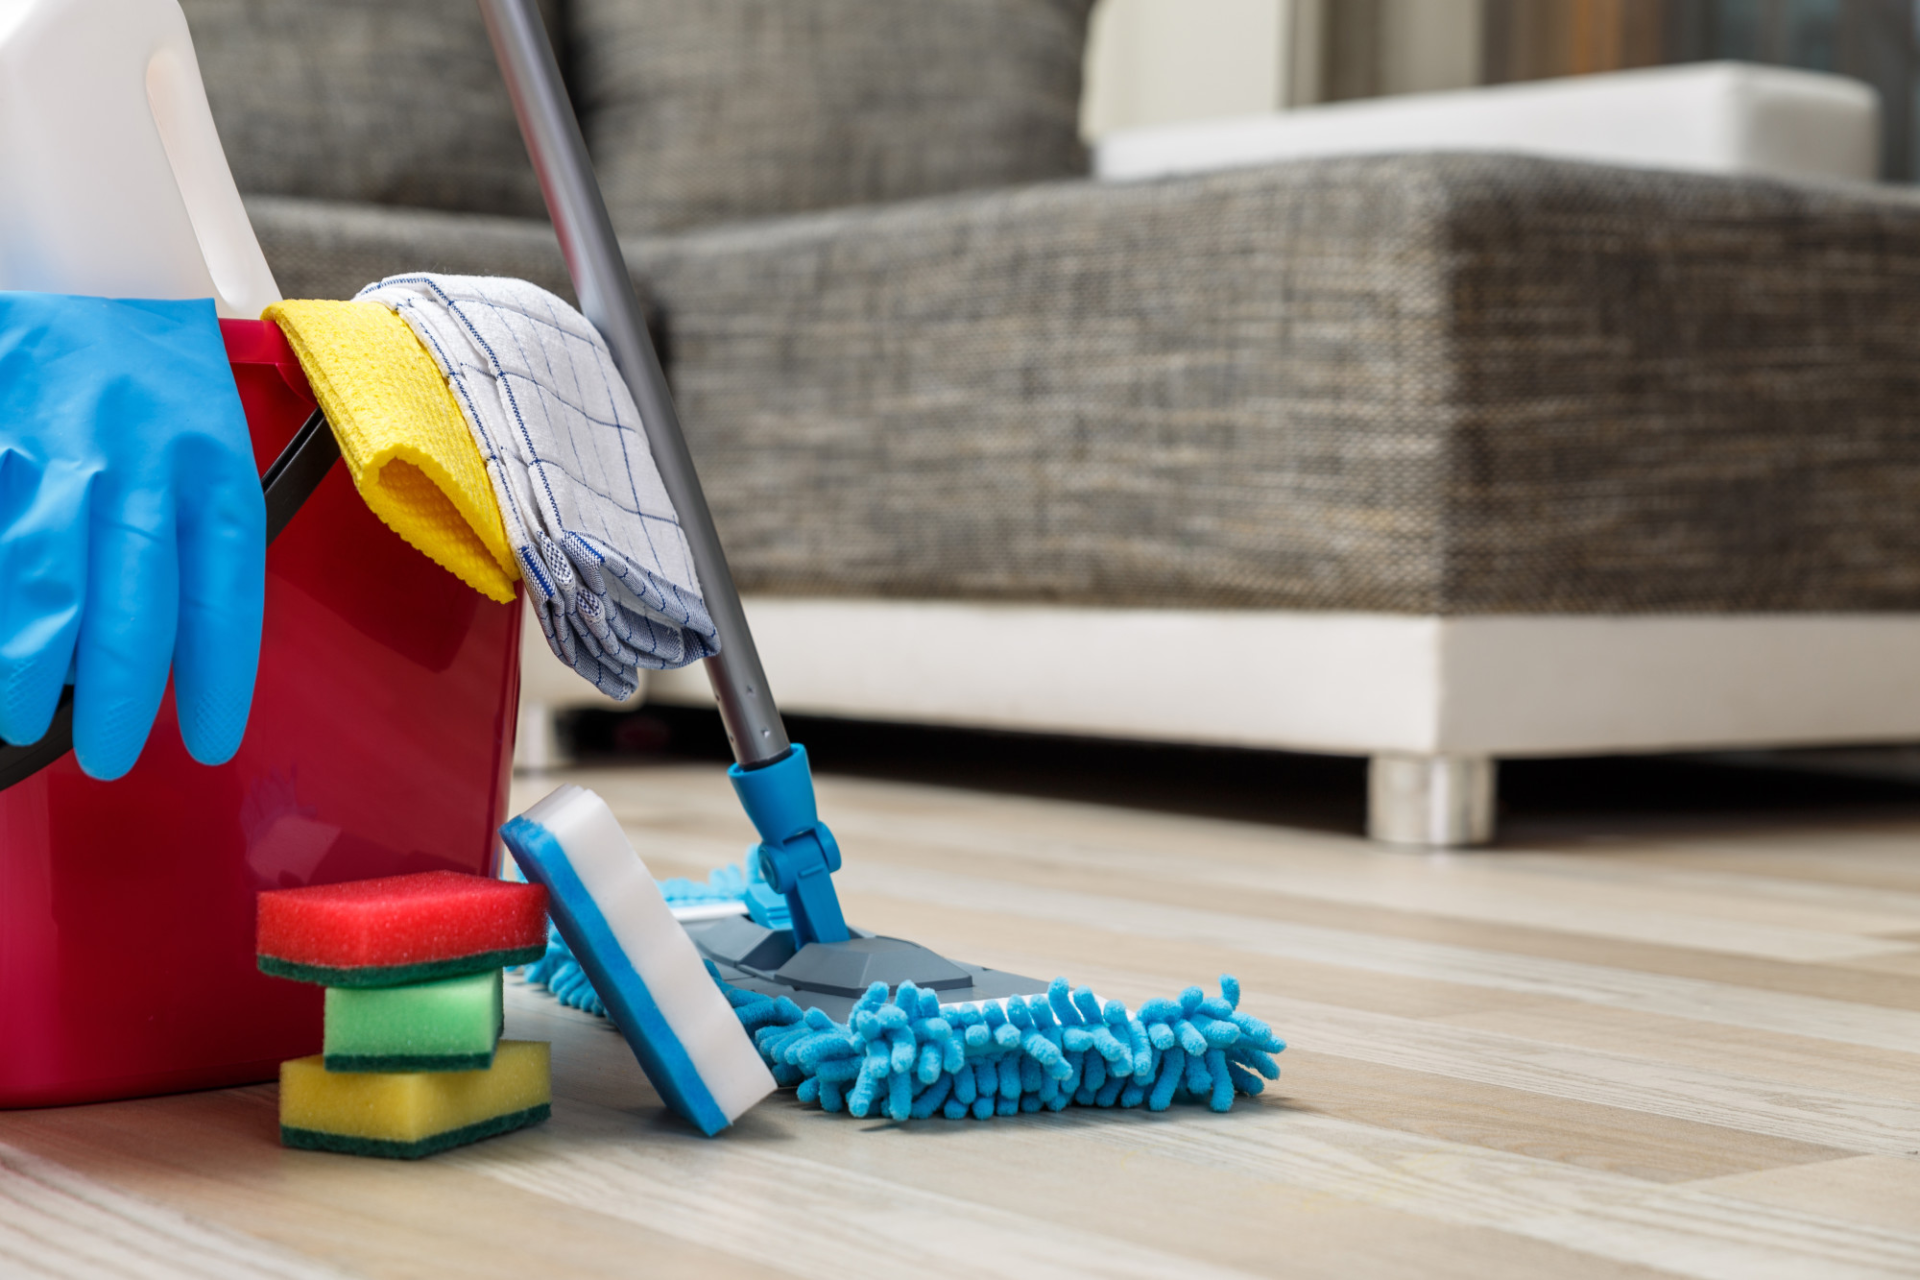
Once you decide on your cleaning timeframe and method (room-by-room or all at once), gather your supplies:
- Rubber gloves
- Microfiber cloths/dishrags
- Sponges
- Vacuum
- Carpet cleaner (spray or a machine)
- Broom and dustpan
- Mop
- Toilet bowl brush
- Toilet bowl cleaner
- Disinfectant wipes or spray
- Window cleaner
- Oven cleaner
- Dusting spray
How to Deep Clean an Apartment Room-by-Room
After you have your supplies ready and your gloves on, you are ready to get started. Below is our room-by-room approach with our best deep cleaning tips, but as we said, you can don’t have to tackle all of these rooms at once.
However, if you plan to finish all rooms in one day, we recommend working in one room top-to-bottom and start-to-finish before heading to another room. We also recommend starting in common rooms like the kitchen and living rooms since these are usually the first places your guests will see.
Our friends at Liberty Properties have additional great cleaning tips to help you with your apartment cleaning process.
Kitchen
Start with getting rid of unwanted food products in your cabinets and fridge or selling/donating unwanted appliances. This will leave fewer objects in your way as you clean.
Next, dust the ceiling, ceiling fan, windowsills, tops of cabinets, above the fridge, above the microwave, and any other nooks and crannies. You can start with a rag or other duster and follow up with a dusting or multipurpose spray. Dusting leaves bits of debris everywhere that can be wiped up and vacuumed later on, so we recommend doing this early on in the cleaning process.
After dusting, use a disinfecting wipe or spray on the fridge (inside and outside), countertops, and outside of the microwave.
The interior of the microwave is difficult to clean with splatters and dried-out food particles. In a microwave-safe bowl, pour 1 part water and 1 part white vinegar or lemon juice together. Microwave for 3-5 minutes to soften any food particles, then wipe the interior with a disinfecting wipe or spray.
Often overlooked in the cleaning process is the oven, which is more challenging than other appliances. If you don’t mind harsher cleaners, we recommend using a spray-on oven cleaner. Remove the wire racks and spray the inside of a cool oven with the oven cleaner. Allow this to sit for about 2 hours before wiping up with an abrasive sponge (avoid using steel wool or other harsh scrubbers as this can damage the enamel in your oven).
Scrub the wire racks, burners, and drip pans from your oven in the sink. These products can be scrubbed with steel wool or a stiff-bristle brush to remove caked-on and burnt food. You can also allow these to soak in soapy, warm water for 5 to 10 minutes, wiping down the stovetop while you wait.
Finally, sweep/vacuum and mop the floor, making sure to allow time for it to dry to avoid dirty footprints.
Living Room
The living room is a somewhat simpler task than the kitchen. Start with organizing any nick-knacks and clearing out any clutter. Then, start dusting the ceiling, shelves, and electronics. Wipe these surfaces (excluding electronics) with a general-purpose cleaner or dusting spray.
If you have any windows in your living room, make sure to dust the windowsill and wipe the window with a spray-on window cleaner, making sure to avoid any streaking.
After organizing and dusting, break out the broom/vacuum (depending on your flooring). For deep cleaning, make sure to move your furniture as you vacuum to clean up any hidden dust bunnies or crumbs. Use your carpet cleaner across the whole carpet or spot clean with your cleaning spray.
Bathrooms
As always, start with organizing and getting rid of any unwanted products or clutter. We recommend replacing your shower curtain every 6 months and disinfecting monthly.
Then start dusting shelves, countertops, tops of toilet tanks, and shower curtain rods.
Next, move to your sink area. We recommend starting at the ‘top’ with the mirror and working your way ‘down’ to the sink basin. Use your window cleaner on the mirror, avoiding streaks.
Then, spray your countertop and sink with the all-purpose cleaner or disinfecting wipe/spray, wiping up as you go. For an added touch, use your window cleaner on any metal fixtures such as faucets or faucet handles to make them shine.
Use the same process for your shower, making sure to scrub the shower walls, shelves, and base with an abrasive sponge. Don’t forget the outside of the tub as well.
For the toilet, Start from the top and work your way down using the disinfecting wipes/spray. Use your toilet bowl cleaner on the inside of the toilet bowl. Allow it to sit for about 5 to 10 minutes, then scrub out any marks or stains with your toilet bowl brush and flush all debris. Next, wipe along the top and underside of the toilet seat and along the base of the toilet with your all-purpose cleaner.
Bedrooms
Deep cleaning bedrooms is the same process as the living room. Start with organizing and decluttering, dust, vacuum, and clean the carpet. These are best saved for last as these are typically the last things guests will see when visiting your home.
Start Deep Cleaning
Now that you know how to deep clean an apartment and have all of the steps and deep cleaning tips, you are ready to get started. Remember, this doesn’t have to be a stressful undertaking. Keep it simple and start with one room at a time if you aren’t sure you want to clean all of the rooms at once.
It’s also helpful to remind yourself of all of the benefits to deep cleaning if you want to stay motivated.
For more great tips and resources on everything from lifestyle to business, visit our website.


