Macro pictures refer to subjects being captured at a very close distance. It makes details visually bigger and more noticeable, uncovering features that often go unnoticed by the naked eye.
FOOD NEWS: 10 celebrity chef restaurants to try in Arizona
Photographers leverage macro photos to highlight texture, color, and shape. This technique can be used informatively in nature photography to present minute insects, intricate leaf patterns, or fragile flower petals. Close-ups are also common for fine art and abstract photography, transforming everyday objects into artistic expression tools.
In this article, we provide the most fundamental macro photography tips and techniques to help photographers discover the incredible beauty found in the tiniest details.
Equipment Selection
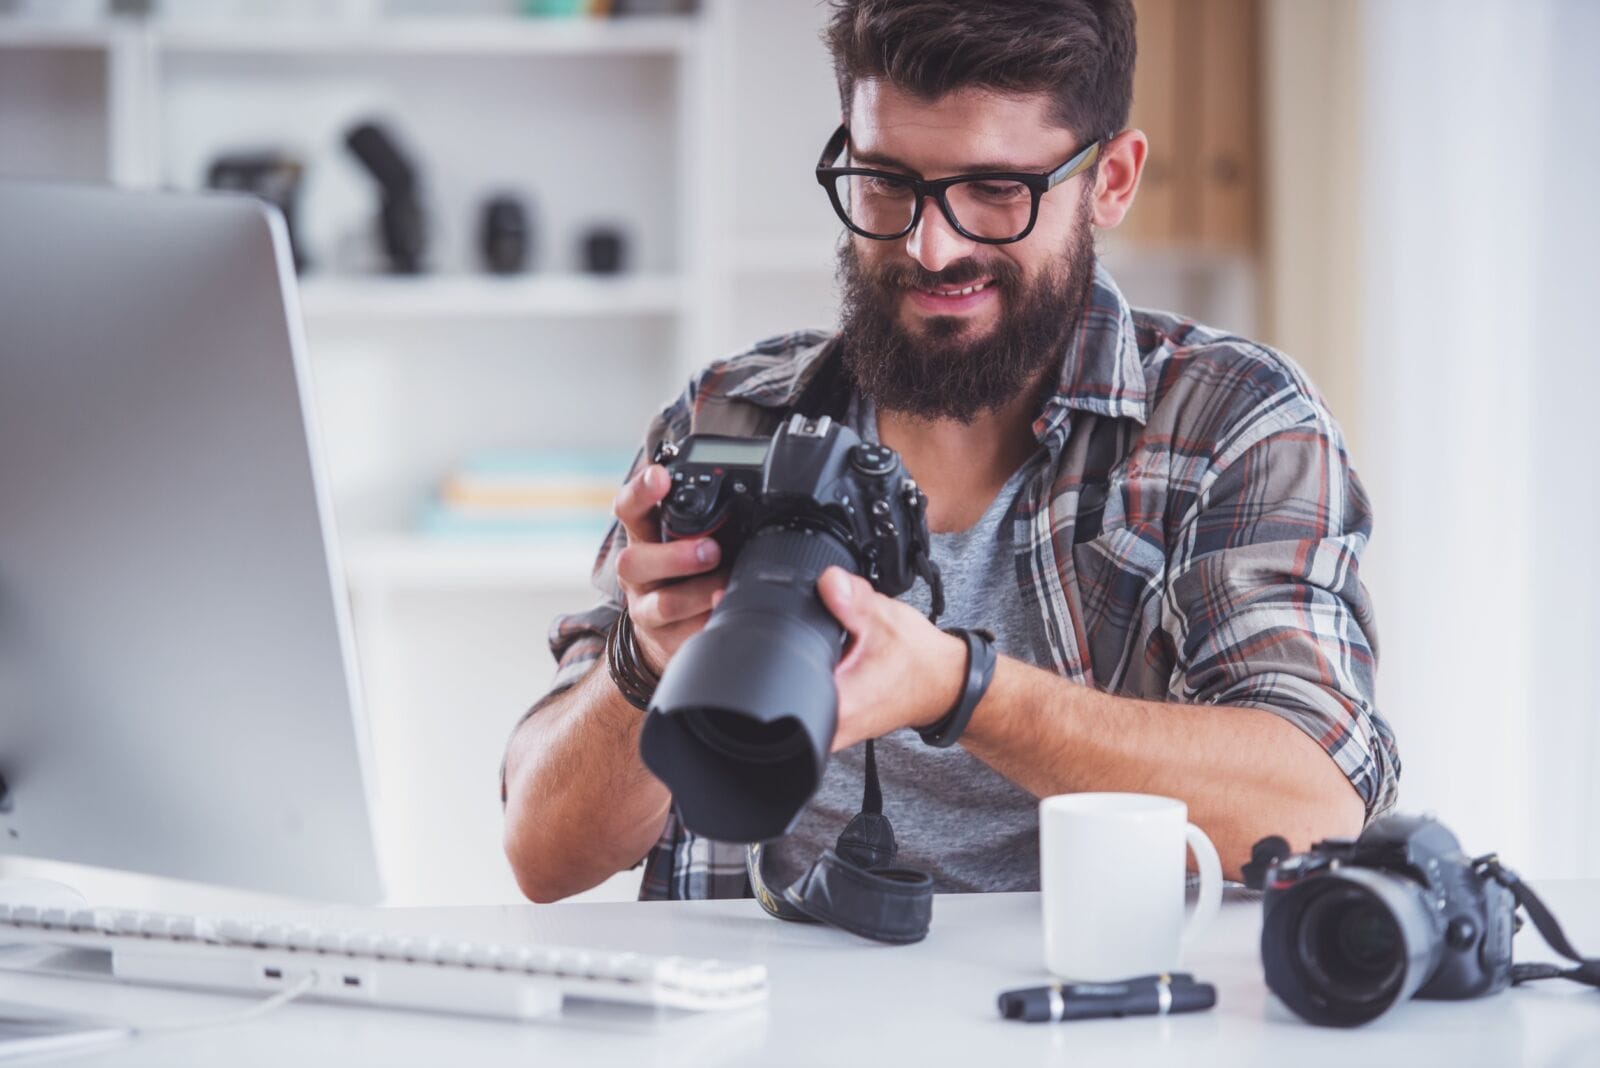
This photography technique will work well with any camera, but DSLR and mirrorless models with a dedicated macro mode provide the greatest control and flexibility. These models usually include (or at least support) special macro lenses with the necessary 1:1 magnification ratio. It means you capture the subject at life-size or larger.
A standard lens with extension tubes or a close-up filter can be a good alternative for photographers on a budget. These accessories decrease the minimum focus distance of your lens for a greater magnification.
A steady tripod with adjustable legs and a center column can help you stabilize shots in various terrains and awkward angles. A macro-focusing rail is used to move the camera forward and backward in the smallest increments. The setup is not readjusted, which is convenient for shallow depth of field.
Composition
Aligning the subject along the lines or at the intersections of an imaginary grid can make your image more balanced and striking. This fundamental technique is known as the rule of thirds. It is especially easy to apply in close-ups because smaller subjects are easier to rearrange.
A shallow depth of field can be applied to isolate your minute subject effectively. Apply selective focus for the most sophisticated details. Automated focus stacking devices can help you adjust the focus through tiny increments between shots. Use a simple, plain, and unobtrusive background. The smaller the subject, the easier it is to overpower it with additional elements. Prioritize minimalist layouts and avoid excessive props. Post-processing techniques like background removal and AI sky replacement may be particularly helpful.
Lighting
Most photography genres leverage ambient illumination as the most authentic and flattering. Macro photos, in turn, require more control and precision to ensure the small subject is well-lit and presented adequately. Artificial lighting equipment is critical for this style. For instance, a ring flash attaches to the front of your lens for even and direct illumination without unwanted shadows. LED lights offer continuous light for recomposing the shooting scene. Specialized macro lighting systems can provide adjustable and balanced illumination options for outstanding clarity.
Adjust the aperture, ISO, and shutter speed. Smaller apertures (larger f-numbers) ensure a better focus on the tiniest elements. A faster shutter speed can freeze any slight movement, which can be especially useful for living subjects like insects whose movements are impossible to adjust and control. Keep the ISO as low as possible, but keep in mind that even the most minor grain can ruin your shot. That is why well-lit environments and powerful cameras with a dedicated macro mode are pivotal.
When you seek a photo editing app for Mac or Windows, ensure it includes High Dynamic Range (HDR). This feature can be particularly useful for macro shots, especially in high-contrast settings. Combining multiple exposures into one allows photographers to capture greater detail in both brightened and obscured zones. A well-balanced illumination distribution across the scene will make your images more vibrant and impactful.
Post-Processing
Proper editing can dramatically improve the clarity, detail, and overall mood of your shots. Close-ups should be crisp, with all details clearly visible, so start with subtle sharpening. Pay special attention to the edges and be cautious not to introduce noise or other distracting artifacts. Adjust the sharpening tool’s amount, radius, and threshold according to a specific image’s needs.
Grain (digital noise) is a common consequence of shooting with high magnification. Uneven and insufficient illumination and high ISO increase the risk further. Apply the noise reduction feature in your post-processing software judiciously. The essential elements and natural textures should remain untouched. Clean up your shot while maintaining as much detail as possible.
Tweak the contrast to distinguish your subject from the backdrop. Blur the background and apply a subtle bokeh if the background is too cluttered and distracting. Use levels or curve adjustments to enhance the dynamic range. It will emphasize textures and details without ruining the overall exposure. Macro photos often benefit from subtle color adjustments. Modify the color balance, saturation, and vibrance for a vibrant look. Avoid overdoing; the colors should look authentic.
Conclusion
This article inspires you to enter into the exciting world of close-ups. Explore the nuances that are so often overlooked. Make great images by tweaking settings, harnessing the right tools, and employing proper methods. Pick up your camera, get closer in, and start discovering the artistic opportunities of macro images!