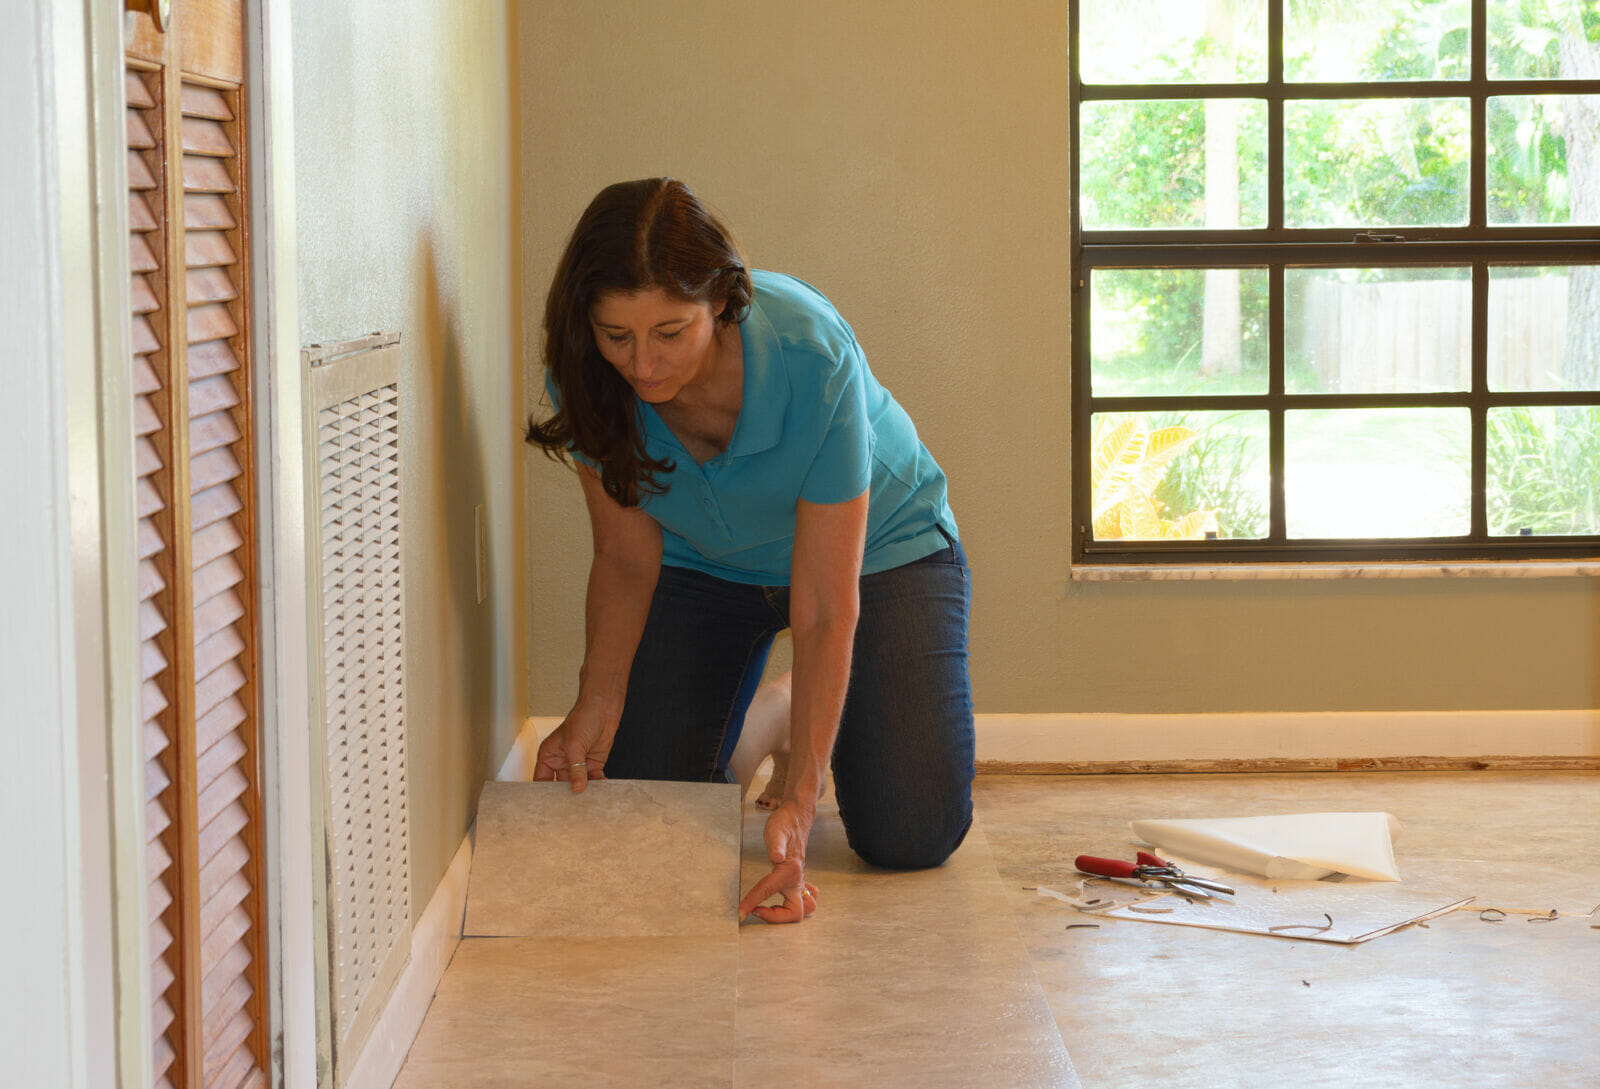
The vinyl floor industry in 2018 was $25.6 billion and is expected to grow 7.4% between 2019 and 2025. The reason for its popularity is that vinyl flooring is a low-cost, stylish alternative to other expensive flooring options like wood and tile.
And installing the floor yourself can also save you a bundle if you know what you are doing. Luckily, it just takes a short lesson to install vinyl flooring.
Flooring is the best option to use on stairs with a slip-resistant surface, easy to install, perfect for high foot traffic on stairs, and available in various styles
See the steps below to get started.
Know the Benefits of Vinyl Flooring
Vinyl floors have come a long from the classic stick-on mats of the past. Today, they come in imitation planks that resemble more expensive wood flooring options.
Not only are they cheaper, but vinyl floors are also stain- and moisture-resistant, making them more durable and easier to clean. In addition, they absorb sound, which is great when you have pets or children running around.
Choose the Right Type of Vinyl
Another great vinyl plank flooring benefit is the color and design options. They also come in three types of installation methods: interlocking, GripStrip, and glue-down vinyl planks.
An interlocking system of installation uses no glue. Instead, the planks connect to one another.
Grip strip flooring is another mess-free option. The planks stick together with an adhesive already applied to each plank. This makes the boards float on top of the underly surface.
You can glue down your floor in one of two ways. The first requires you to place glue on the floor and then lie the planks on top as they hard-set. The second is a peel and stick method that uses a pressure-sensitive installation. You need to place the boards on the floor and press down on them to stick.
Gather Your Tools
Vinyl flooring installation does not require many tools. If you need to cut your boards and do not have a vinyl floor cutter then a utility knife can be used to score the surface. Then you can snap the plank at the seam.
Other tools needed are a tape measure, chalk, a straight head to remove the baseboards, and a vacuum. You will also use glue if you plan to use the hard-set glue-down method. Work gloves and safety goggles help keep you safe during installation.
Plan and Prep Your Floors
Before you install new flooring it is important to prepare and measure your space. If you have existing flooring then you need to tear it up. Removing old vinyl flooring will depend on its previous installation process and if glue was used.
Next, remove the molding and measure your floor space. Remember to include the spacing between planks and walls as well as areas under doors that need to be undercut.
Vacuum your floor to remove dust and debris before laying down a new floor.
Lay Down the Floor
The installation process differs for each type of flooring.
For interlocking boards, begin at the wall, trimming the first plank’s edge. Then snap each piece into the other at an angle. GripLock boards begin at the wall too with the cut side facing the edge. Glue-down boards should begin at the center of the room after dividing the room into quarters with chalk.
Regardless of the method, once you are finished, reattach the baseboards to complete your look.
Install Vinyl Flooring To Revamp Your Space
When you install vinyl flooring you change the entire look of your home. It just might inspire you to do more home renovations like painting or buying new furniture to match your new floors.
Check out our Lifestyle section for more do-it-yourself home improvements.


