The positive impression on potential buyers is a core of the success of every property-selling deal. Real estate photography is one of the paramount strategic tools in grabbing people’s attention and establishing a positive reputation in the overcrowded market. As potential clients browse through listings, captivating and well-framed images ignite their curiosity, inspiring them to consider a purchase.
In this comprehensive guide, we explain how to shoot real estate photography. We will teach you to present homes and apartments in their best light, showcasing their most appealing features. With our recommendations, you can turn your property listings into irresistible draws for future buyers.
FOOD NEWS: 10 celebrity chef restaurants to try in Arizona
Preparations
Before you grab your camera, conduct a thorough walkthrough of the property. See how different spaces connect with each other. Identify key selling points and potentially problematic areas. For example, note features like a grand staircase or a particularly large window with a view. They can attract clients, so they should be carefully represented in listings.
Remove clutter and stage the space. Learn to manipulate personal items that make the space feel lived in. Family photos, magazines, and excessively decorative items may be distracting, but the total absence of decor will make your listings unappealing and unrelatable. Opt for subtle decorations as a compromise.
Ensure all light fixtures have working bulbs, the beds are neatly made, and all curtains and blinds hang properly and are set to let in optimal light. In kitchens and bathrooms, hide away toiletries, dishrags, and any other everyday items.
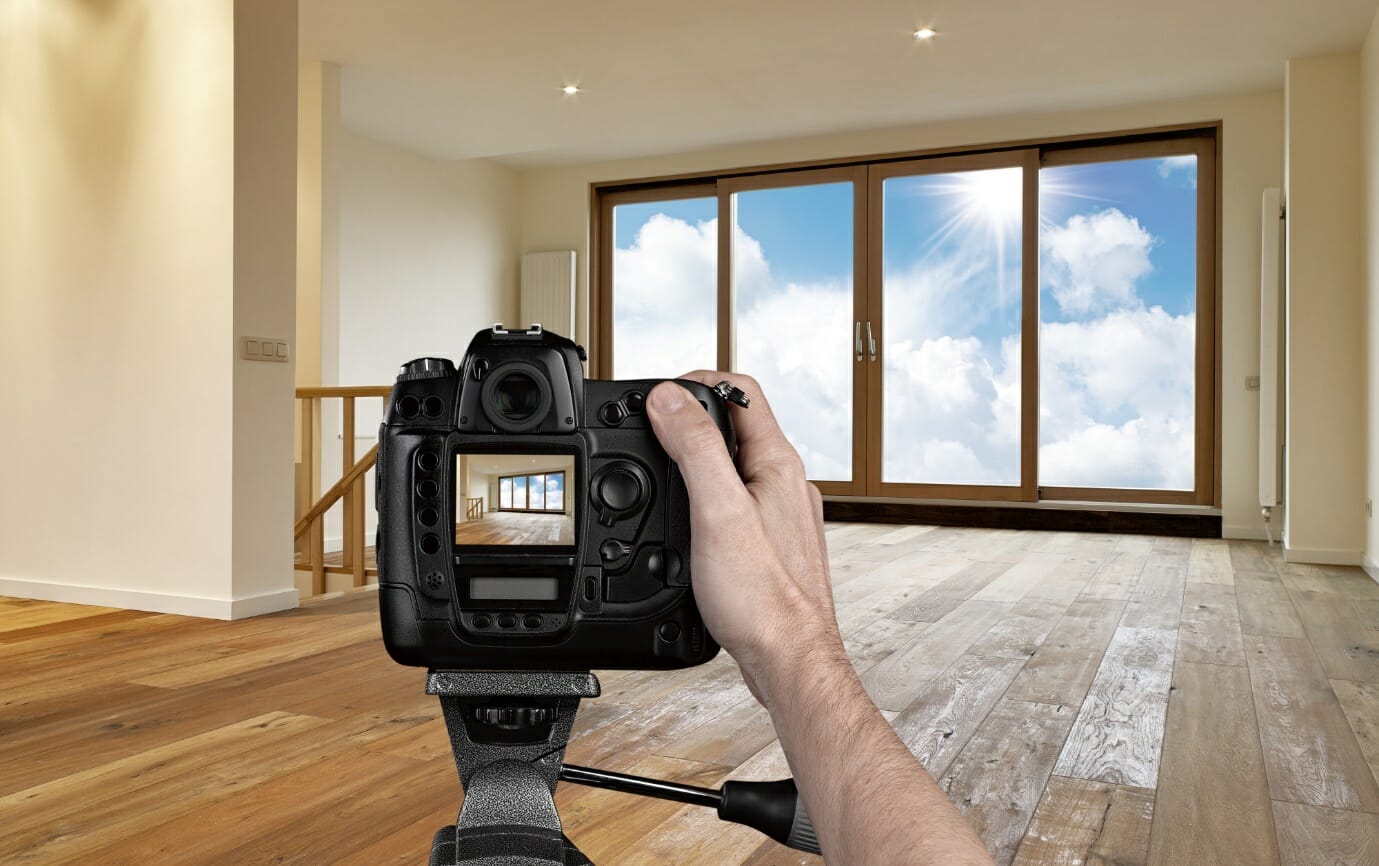
Gear and Settings
DSLR and mirrorless cameras are preferable because their large sensors ensure the highest picture quality. They offer greater control over the essential settings like aperture, shutter speed, and ISO. However, most modern smartphone cameras suffice for photography for real estate, providing better portability and creative flexibility.
A wide-angle lens works great for interior shots without perspective distortions. Lenses in the range of 16-35mm are perfect for full-room shots. They allow you to get a comprehensive view of the space. Use them if you want rooms to look bigger. Meanwhile, the “nifty fifty” (50mm) works for detailed shots. Use it to highlight unique features like custom tile work or high-end appliances.
Shooting in RAW format is recommended. It captures more detail and ensures smoother post-processing in any real estate photo app. Narrow apertures will let you keep the entire room in focus. Keep the ISO as low as possible, preferably under 400. It will prevent noise and unwanted artifacts in your real estate images. Use slower shutter speeds to avoid blur and produce sharp pictures. Stabilization gear is pivotal, especially in low-lit spaces.
Lighting and Composition
One of the fundamental real estate photography tips is to use natural light whenever possible. It will enhance the space’s ambiance without unwanted harshness. Schedule shoots during the early morning or late afternoon. The evenly diffused golden hour glow will make your shots more flattering. Positioning curtains and blinds to gently diffuse sunlight can illuminate a room beautifully.
If natural illumination is not available or insufficient, rely on artificial lighting gear. Softboxes and LED panels can provide a well-balanced exposure and prevent unwanted shadows. They can be especially helpful in areas away from windows or in rooms with dark walls.
Composition can redefine your picture’s perception. The rule of thirds helps in placing important elements of the room at intersecting points, creating a balanced image. Natural leading lines and framing with windows, walls, door frames, and interior elements will guide the viewer’s eye to the property’s most appealing features and spark visual interest. Shooting from the corner of a room often offers the widest perspective, making the space appear larger.
Post-Processing
Post-processing is the final crucial step on the way to appealing listings. The goal is to represent the property in the best light. However, noticeable dramatic alterations that do not match the reality will spoil your reputation and question your reliability as a seller. You should attract buyers, not trick or fool them.
Start with choosing an editing program. If you are new to post-processing, explore photo editing software with smooth learning curves. There are many options on the Internet. Extreme contrasts are often found in interior shots, so tweak the clarity, brightness, and color balance. Slightly lift the shadows to reveal more detail. Reduce highlights selectively to ensure no important elements are washed out in bright spots. High dynamic range (HDR) may be particularly useful for the optimal exposure. Merge several exposures of the same scene to create a well-lit and inviting image.
Crop your image to refine a composition. Use a straightening tool in vertical lines like windows and door frames to avoid skewed looks. Eliminate lens distortions for a more accurate presentation. Adjust the color temperature to get rid of unwanted cool (blueish) or warm (reddish) color casts.
Conclusion
The quality of real estate pictures can greatly influence a property’s sale potential. Dedicating time and effort to take exceptional images can enhance sales and attract more people. By implementing our suggestions, you can make your listings shine in a crowded market. Harness the power of photography and ensure each shot is impactful.