The property-selling realm is extremely overcrowded. Your listings should be outstanding to attract the potential buyers’ attention. Real estate photo editing allows people to produce catchy listings with vibrant colors, perfectly balanced lighting, and a sense of depth so real it feels like you could step right into the photo.
FOOD NEWS: 10 celebrity chef restaurants to try in Arizona
Luminar Neo, with its advanced artificial intelligence (AI) capabilities, offers a game-changing post-processing approach. In this article, we explain how to edit real estate photos with Luminar Neo. We cover basic adjustments and high-end techniques for professional photographers willing to update their portfolios and real estate agents who want to increase the number of successful selling deals.
Luminar Neo: The Basics
Luminar Neo is renowned for its user-friendly interface and advanced AI-driven functionalities. It is among the best AI photo editors designed to simplify the most tedious post-processing tasks. This program makes real estate photo editing services available for photographers of all skill levels.
Start with importing your preferred image into the program’s workplace. RAW format is preferable because it ensures higher quality and greater flexibility. Correct the exposure to ensure the image is neither excessively lit nor obscured. Tweak the brightness slider to bring back details lost in the shadows. Ensure the highlights are not compromised in the interior shots with inconsistent illumination.
Contrast adjustments are critical for photo editing for real estate. They make spaces more defined and welcoming. Showcase the quality of the property’s finishes with sharpness and clarity modifications. The Structure AI tool in Luminar Neo intelligently enhances the clarity and detail of architectural features. It allows photographers to emphasize textures and details in building materials, interior furnishings, and landscapes without excessive sharpness and clarity artifacts.
Real estate photography software must include advanced color correction features. The property’s color scheme should be appealing yet authentic. Use the Color tool to adjust saturation and vibrance gently. Automatic relighting and color saturation adjustments can be particularly helpful for visual harmony between indoor and outdoor shots.
Use batch processing to apply the same basic adjustments to a series of photos at once. This feature streamlines the post-processing workflow and makes it more efficient. It can be crucial when dealing with multiple property listings or tight deadlines. This software also allows you to maintain consistency across various shorts and listings. Preset capabilities and adjustable parameters ensure cohesive and stylized presentations.
Once done with the basic adjustments, utilize the Before-and After mode. It will demonstrate the effectiveness of your edits and provide a tangible example of their impact on the listings’ appeal to potential buyers.
Advanced Real Estate Image Editing Techniques
Sky Replacement
The Sky Replacement tool makes outdoor pictures more vibrant and appealing regardless of the weather conditions. Seamlessly substituting dreary skies with more suitable alternatives can redefine the listings’ aesthetics and impact how potential buyers perceive the property. You can swap the grey, lifeless sky with a dynamic sunset or clear blue sky. It will establish an emotional contact with viewers, spark interest, and boost engagement.
Open your property image in Luminar Neo and select the AI Sky Replacement tool. Choose a sky from the built-in library. Ensure your selected option matches the original photo’s illumination and the mood you would like to convey.
Relighting
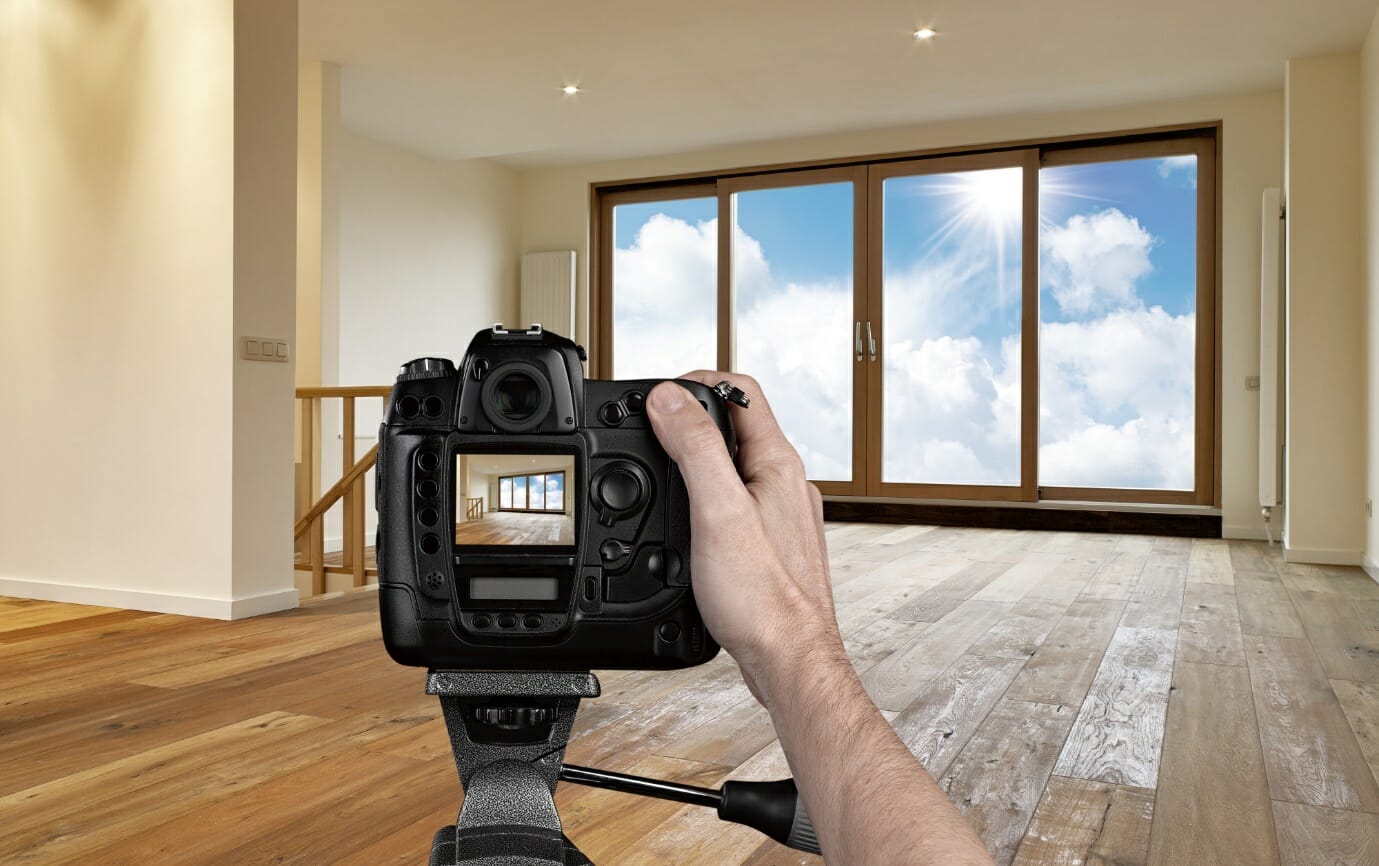
Illumination adjustments are critical in showcasing your property’s most appealing features. It is important not to misinterpret the actual conditions, so dramatic alterations are undesirable. Consider a photo of a living room with large windows. The natural light from the windows might cause exposure inconsistencies.
Find the Relight AI tool in Luminar Neo’s toolbar. The advanced algorithms will detect shadowed areas and bring out hidden details without affecting well-lit zones. Consequently, the prominent elements in areas near brightly lit windows or lamps will not be washed out. The furniture, textures, and colors will be illuminated evenly and consistently within seconds.
In addition to basic exposure adjustments, this tool allows users to experiment with various illumination sources, directions, and intensities without investing in additional equipment or readjusting the shooting scene. See how different lighting effects transform your listings’ mood and message, making them more relatable to buyers.
Object Removal
Removing clutter like cars, trash bins, or temporary signs is essential. It guarantees professional-grade, clean, and inviting visual presentations. For example, a parked car in the driveway can ruin a picture of a beautiful mansion. It covers the house’s entrance and makes the curb look unappealing. It distracts the viewer’s attention from the property’s features and ruins the first impression.
To eliminate clutter, choose the Erase tool in your real estate photo editor. Paint it over the unwanted objects. The softwares algorithms will automatically blend in the erased area with the matching textures of the surrounding space. Adjust the edge refinement to ensure the removal blends perfectly with the rest of the image.
Conclusion
Your listings’ quality and aesthetics can be the main factor in how quickly a property sells and at what price. Luminar Neo offers a user-friendly yet powerful post-processing solution to present houses and apartments in their best light. Integrate Luminar Neo into your real estate photography workflow and turn your listings into captivating visual narratives that grab attention and boost sales.